I hope you are all enjoying your 2018 so far!
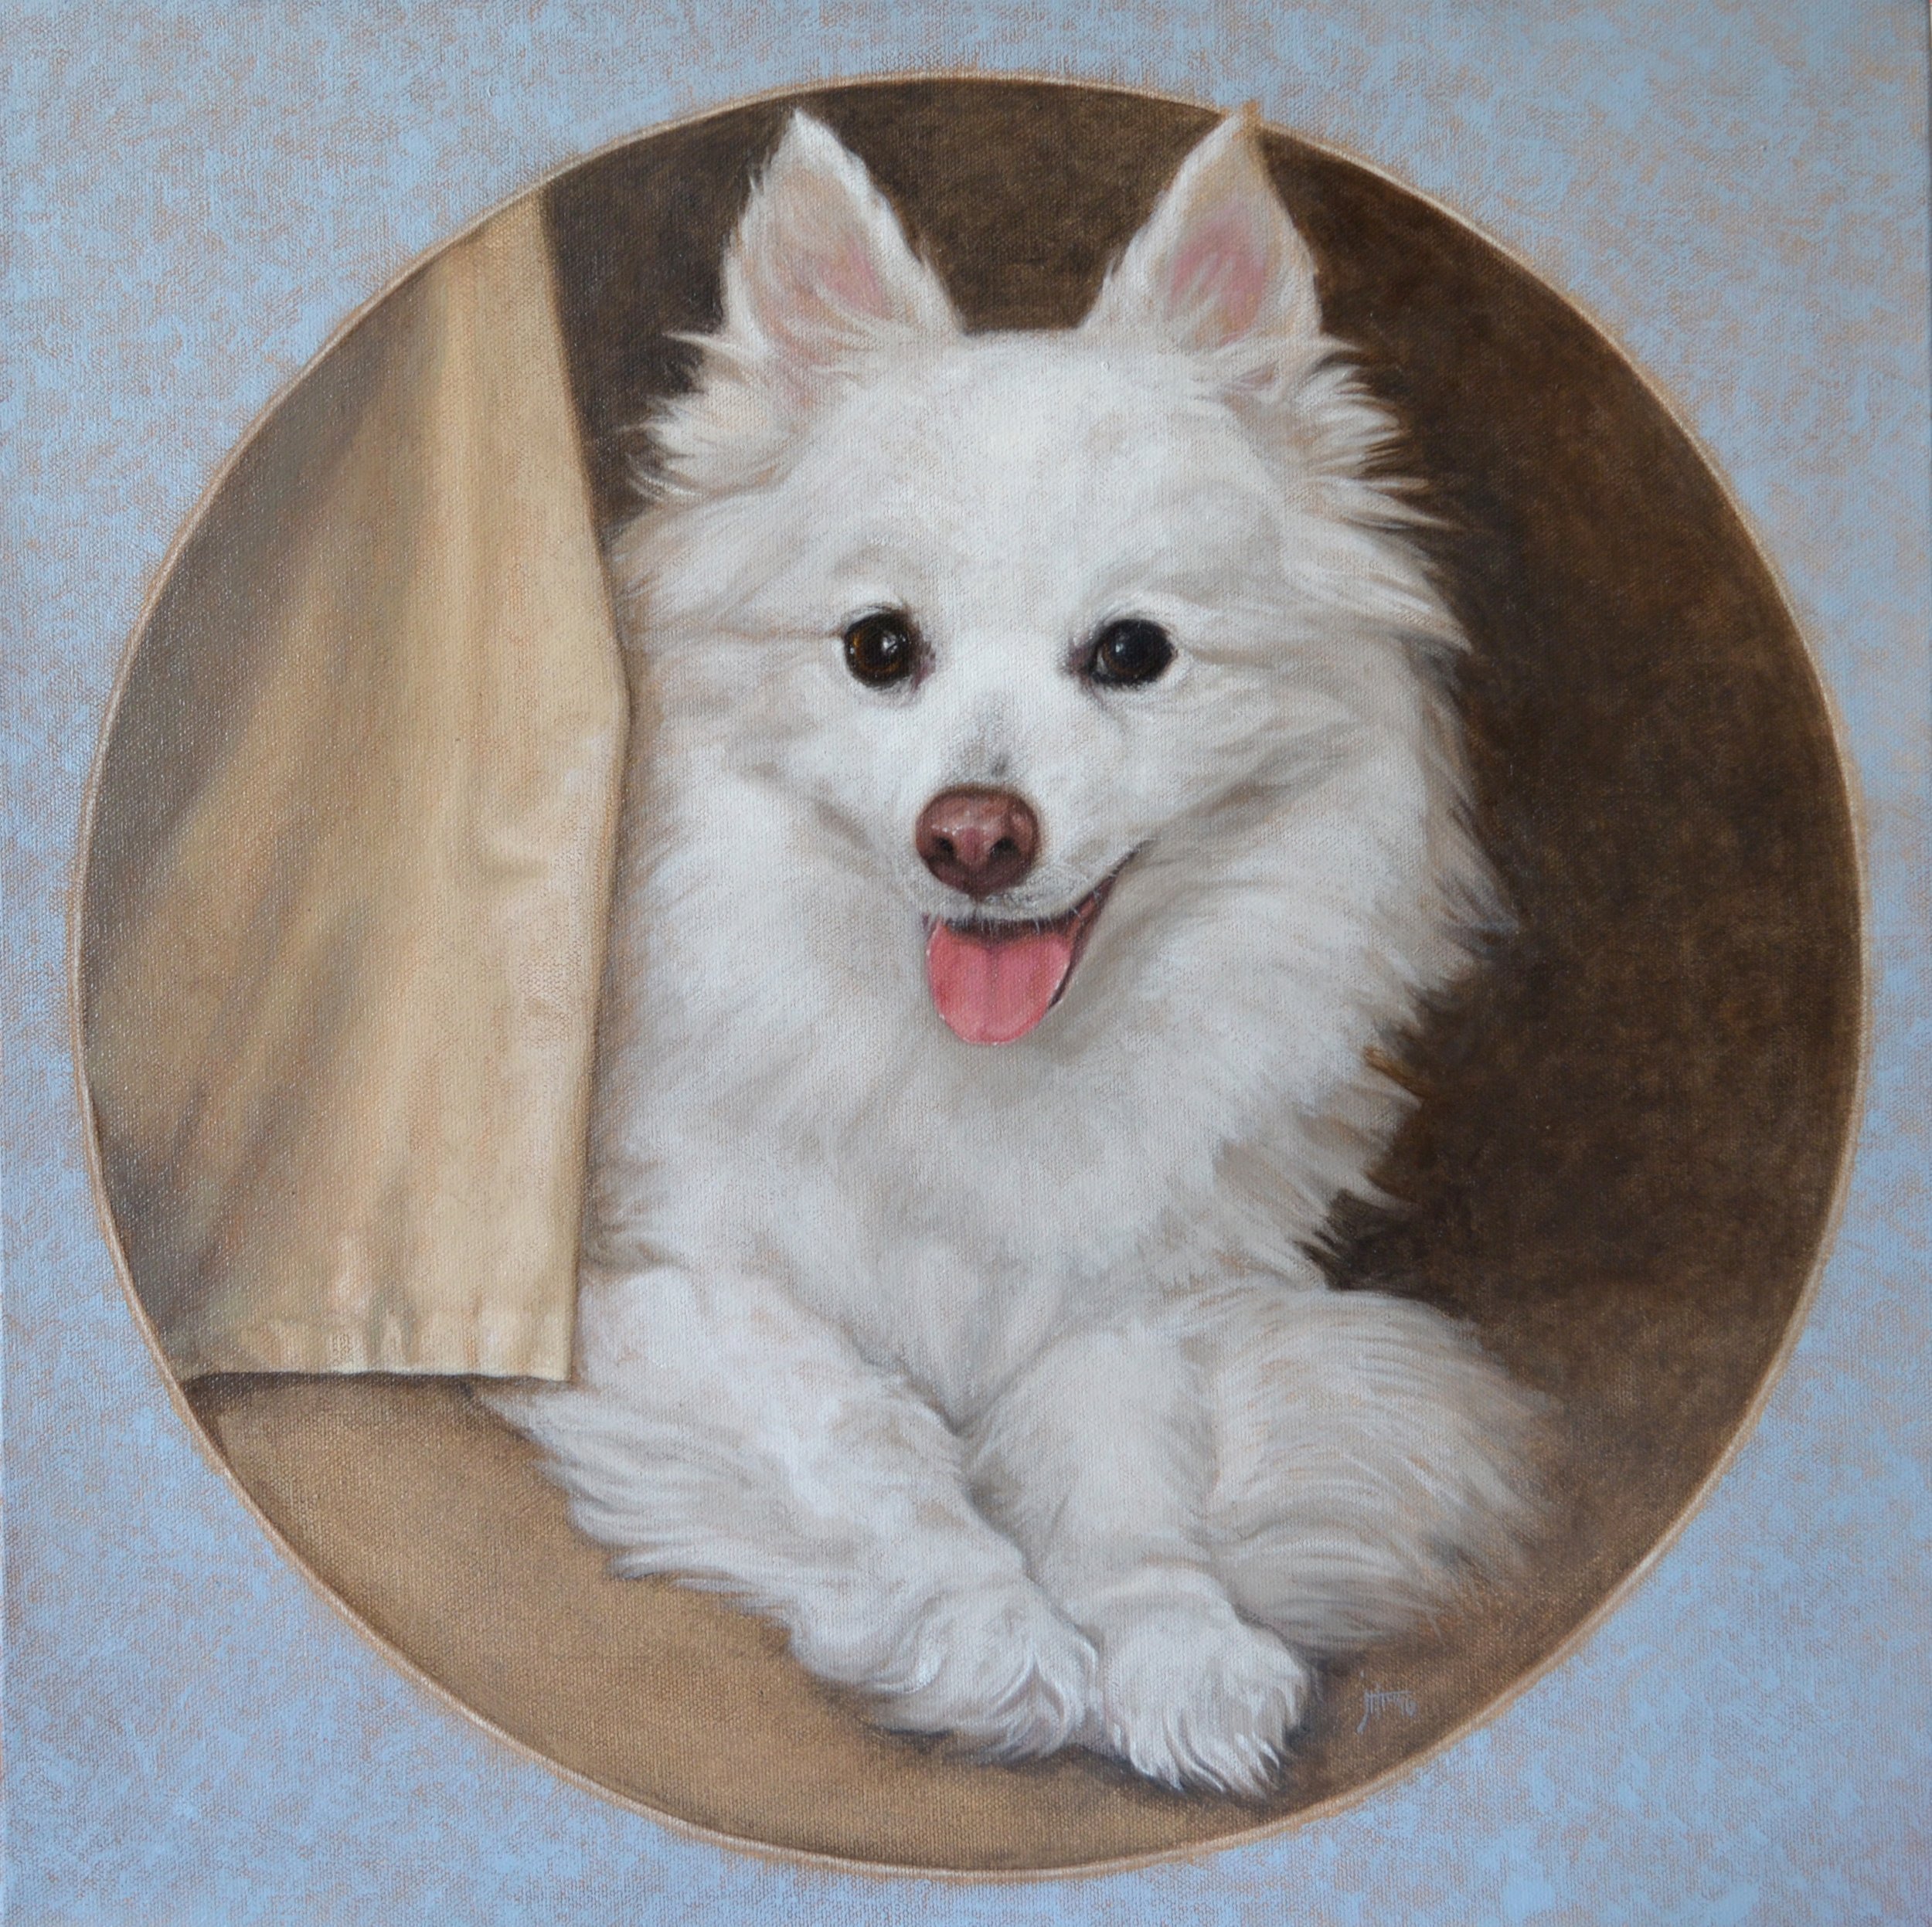
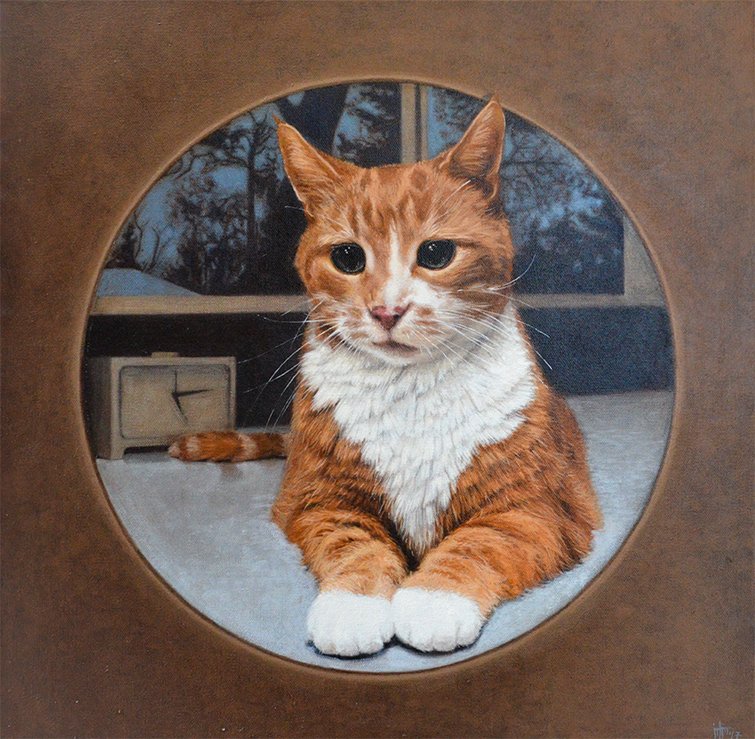
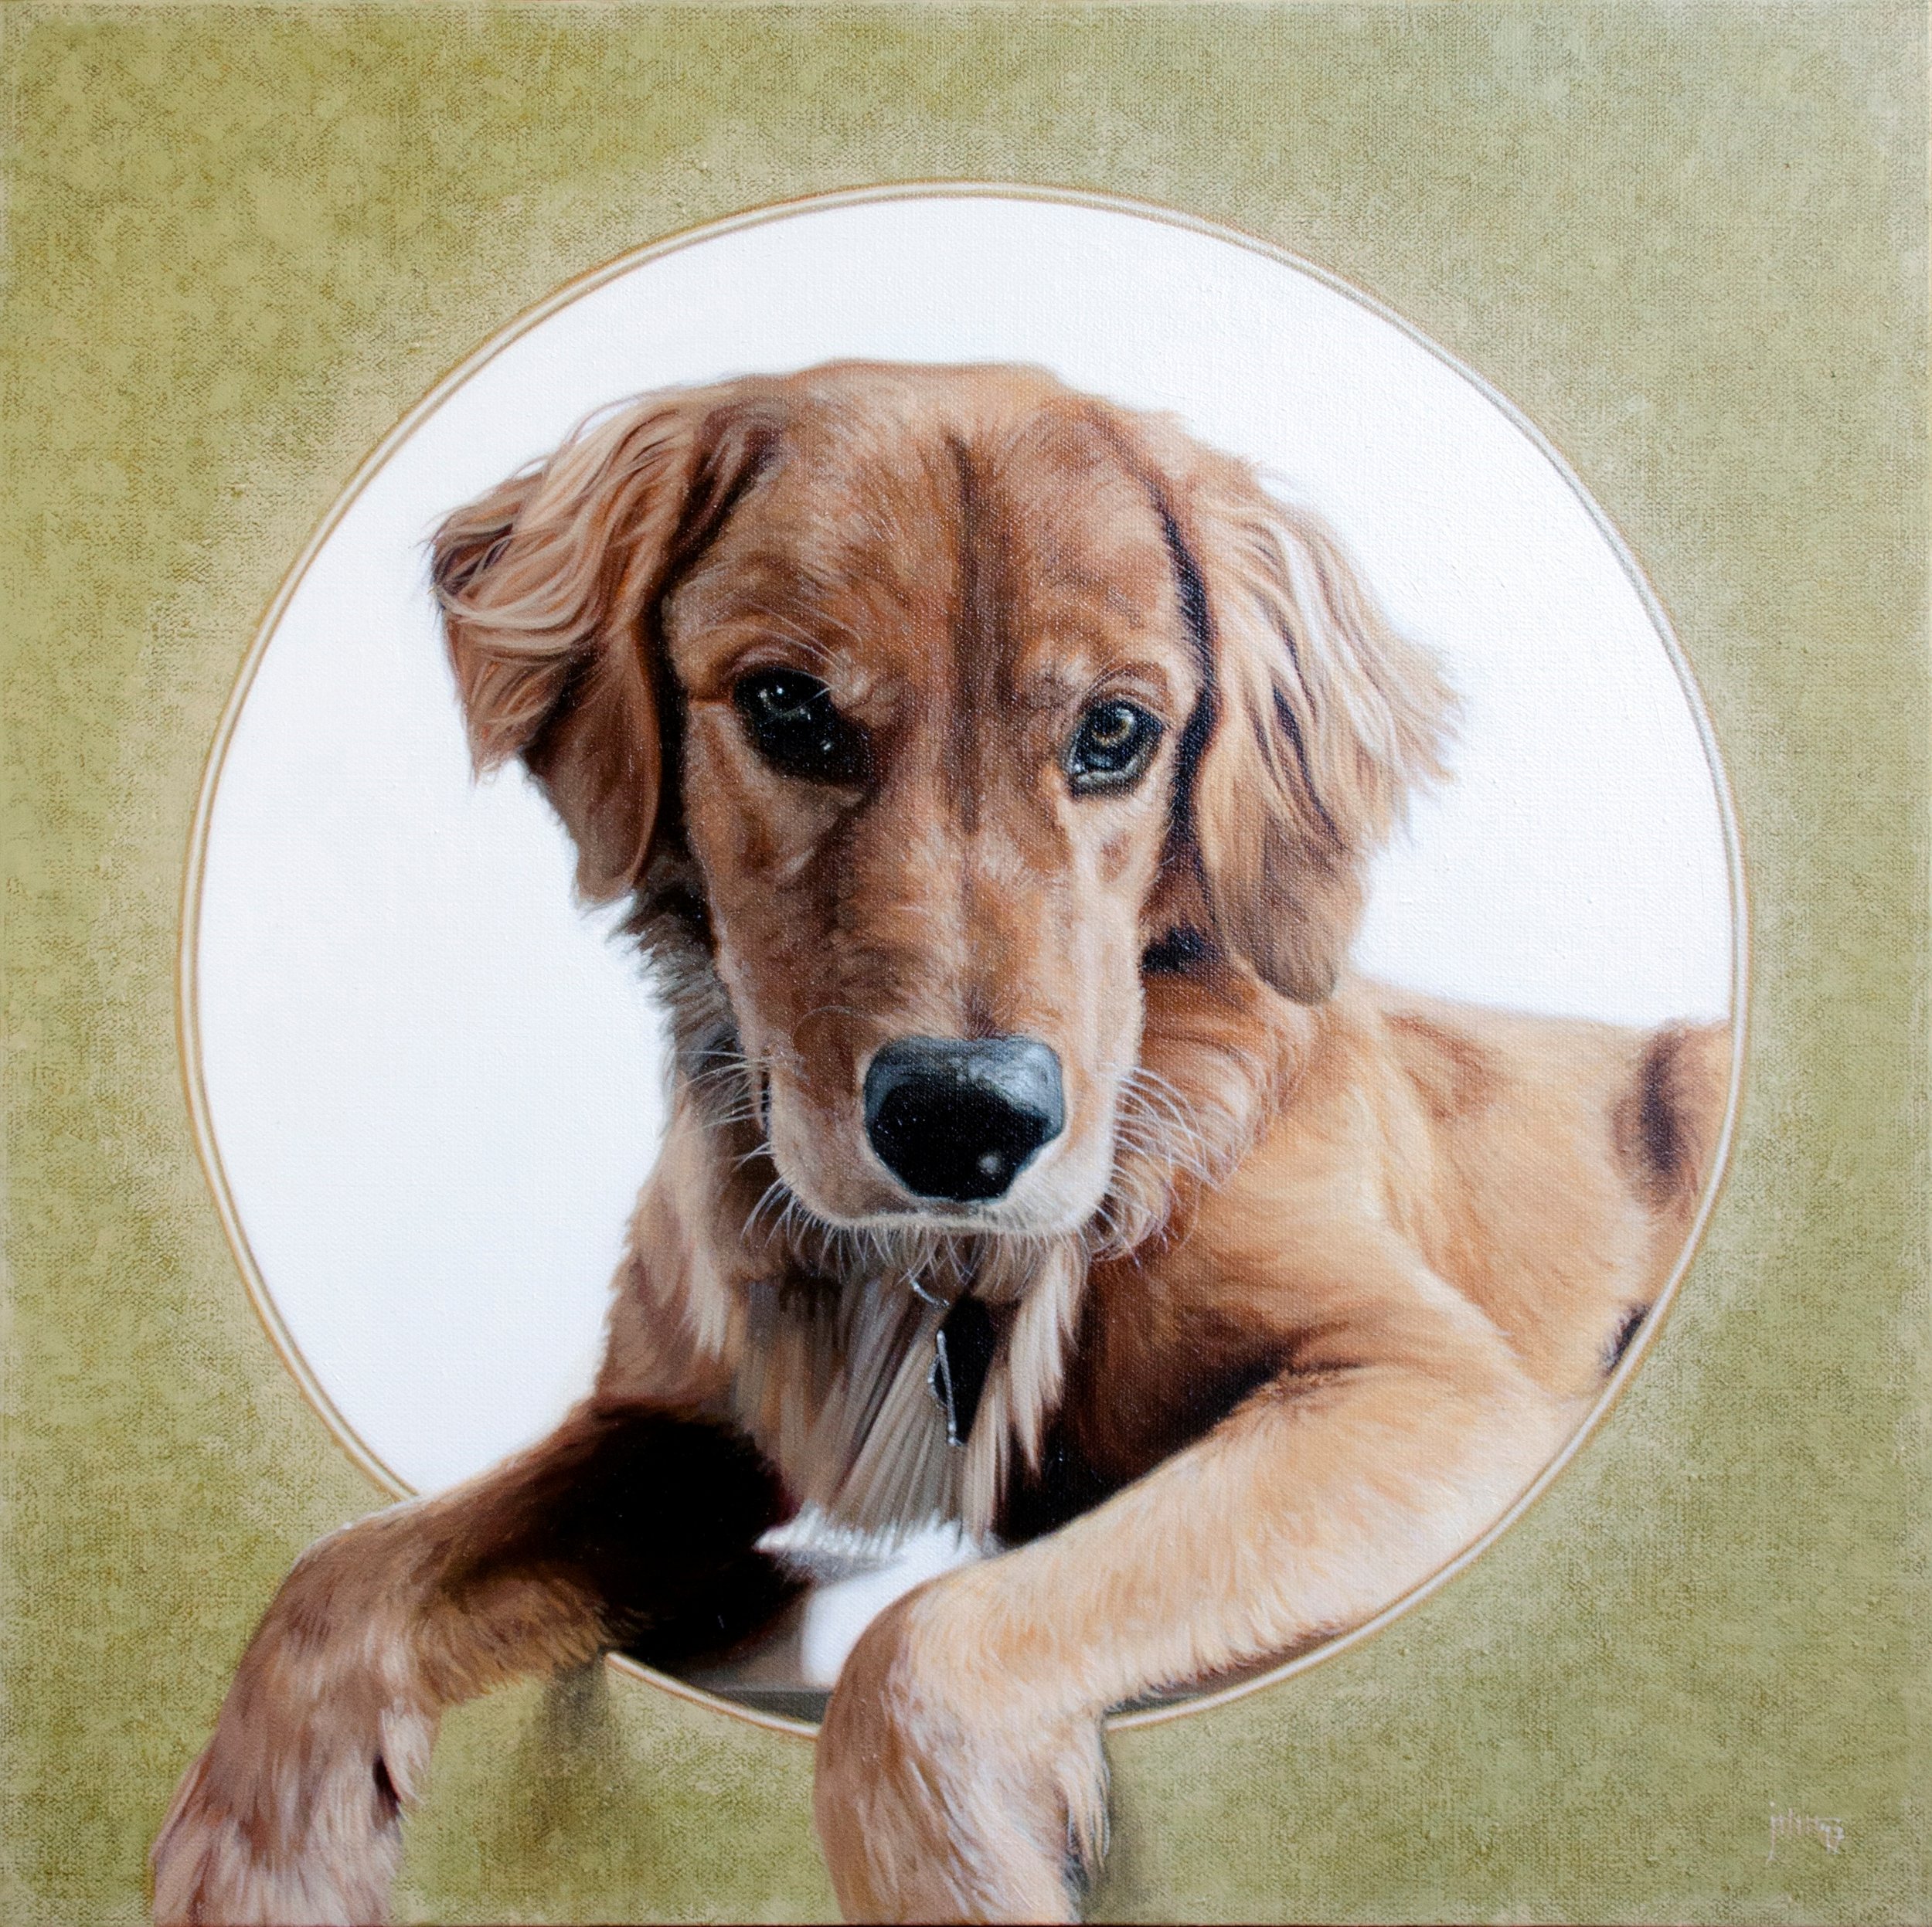
I have been hard at work in my studio working on my portrait skills and updating materials for those interested in commissioning me for their own projects. I now have a brochure that is available to you for the asking that describes my fees and procedures.In my last post I showed you the pet portraits I have been doing over the last year and a bit and now I would like to share a finished charcoal portrait on paper. I have not done these as commissioned work before now so I am very happy to add this to my offerings.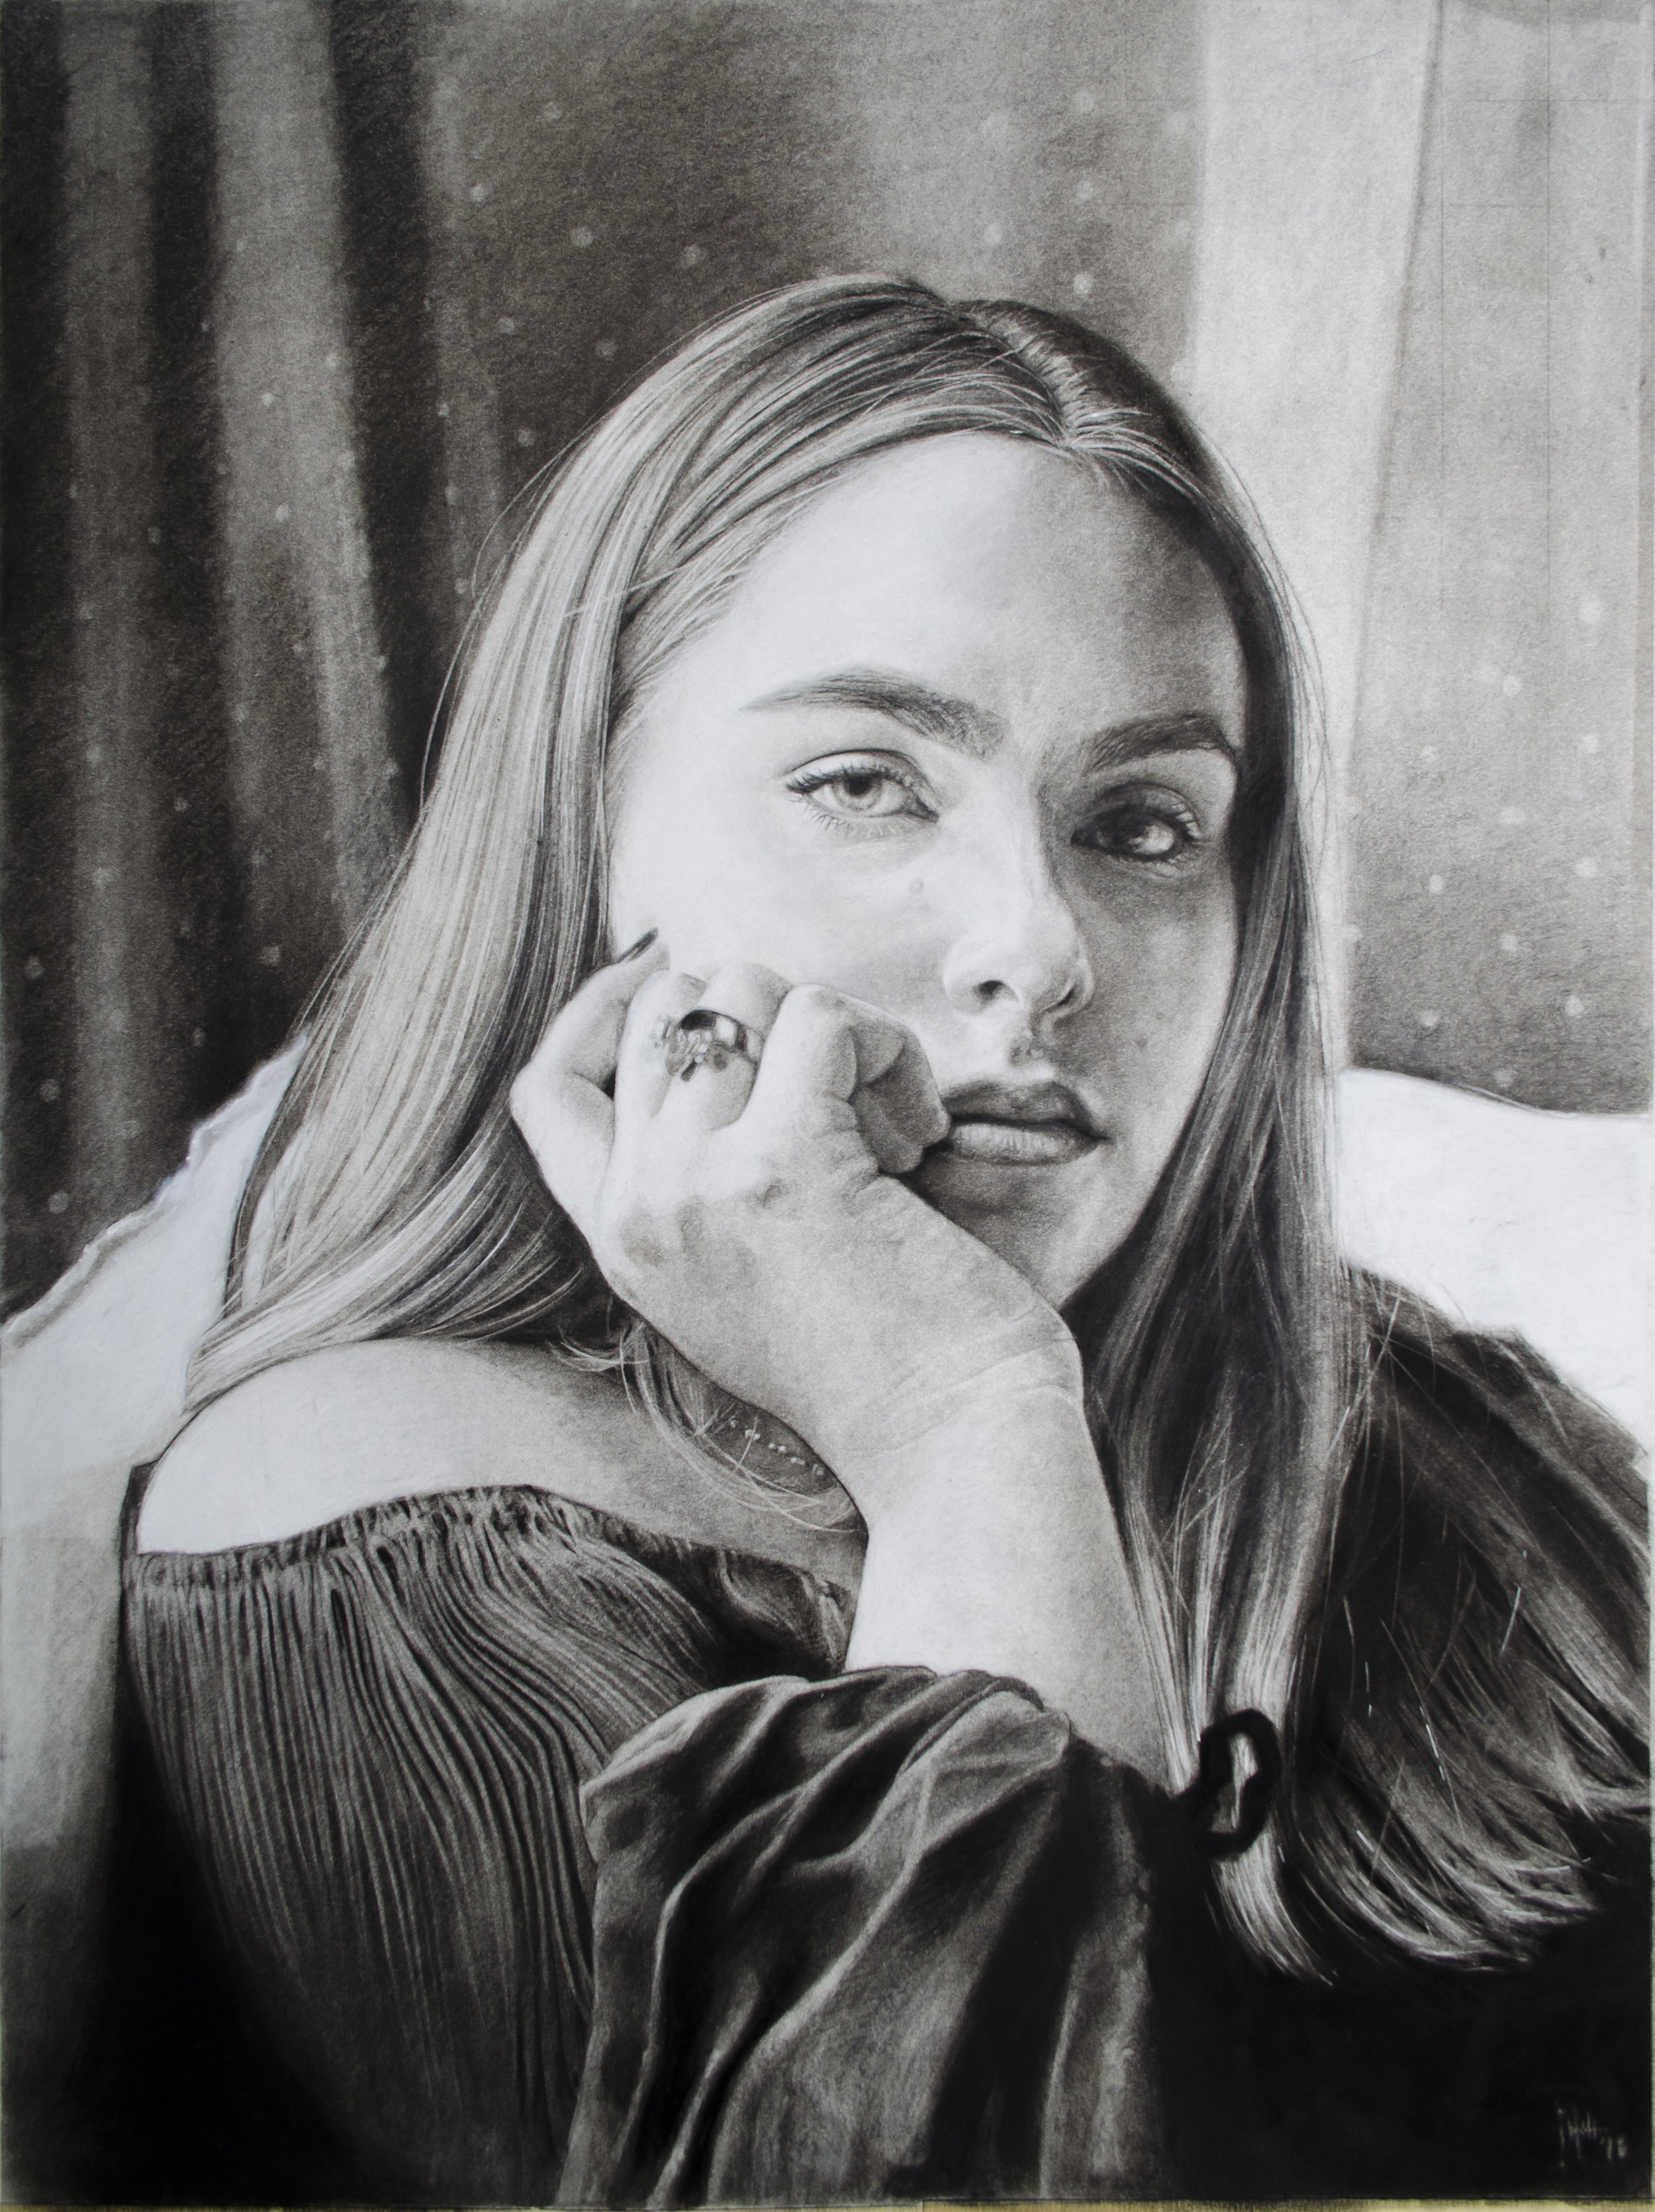 This work is 20x16" on paper and you can see the work in progress on my Instagram gallery where I post frequently here. I enjoy very much a physical kind of drawing full of varying textures and methods and this work shows that tendency perfectly. I began by rubbing charcoal dust into the paper to get an overall grey tone. The process is physical and intuitive, very messy and very satisfying. I add layers of different weights of charcoal, buffing and rubbing with fabric, brushes and fingers, drawing with different types of erasers which I cut into shapes for thin, dull or sharp marks. I add and remove the pigment until the form and description of the subject is perfect to my eye. It creates a lovely texture and life to the portrait. At the end of the process I fix the drawing with a spray so that it all stays in tact and won't shed dust any more.
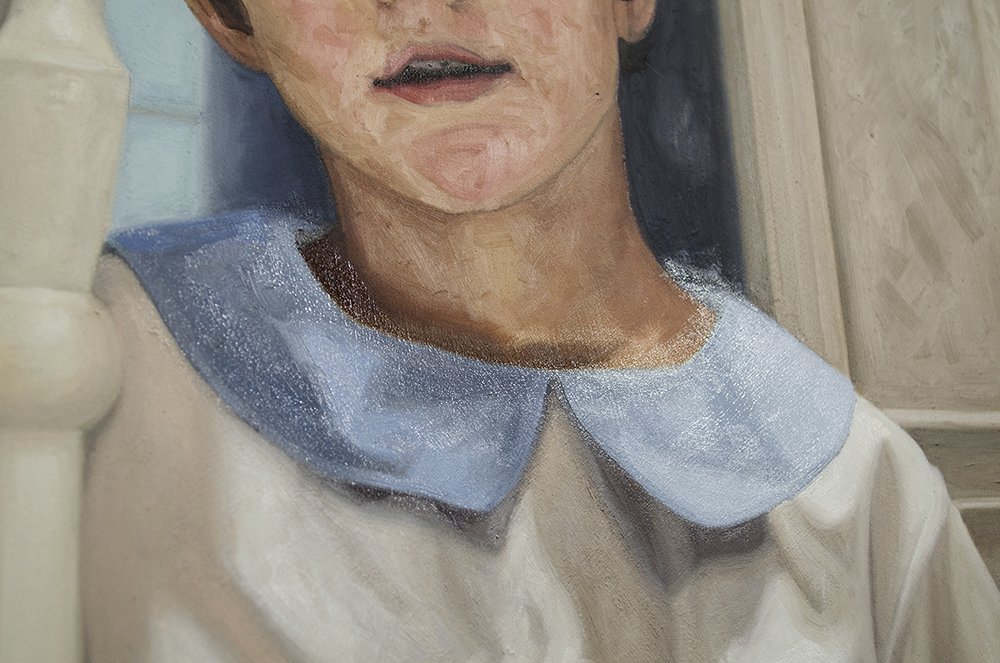
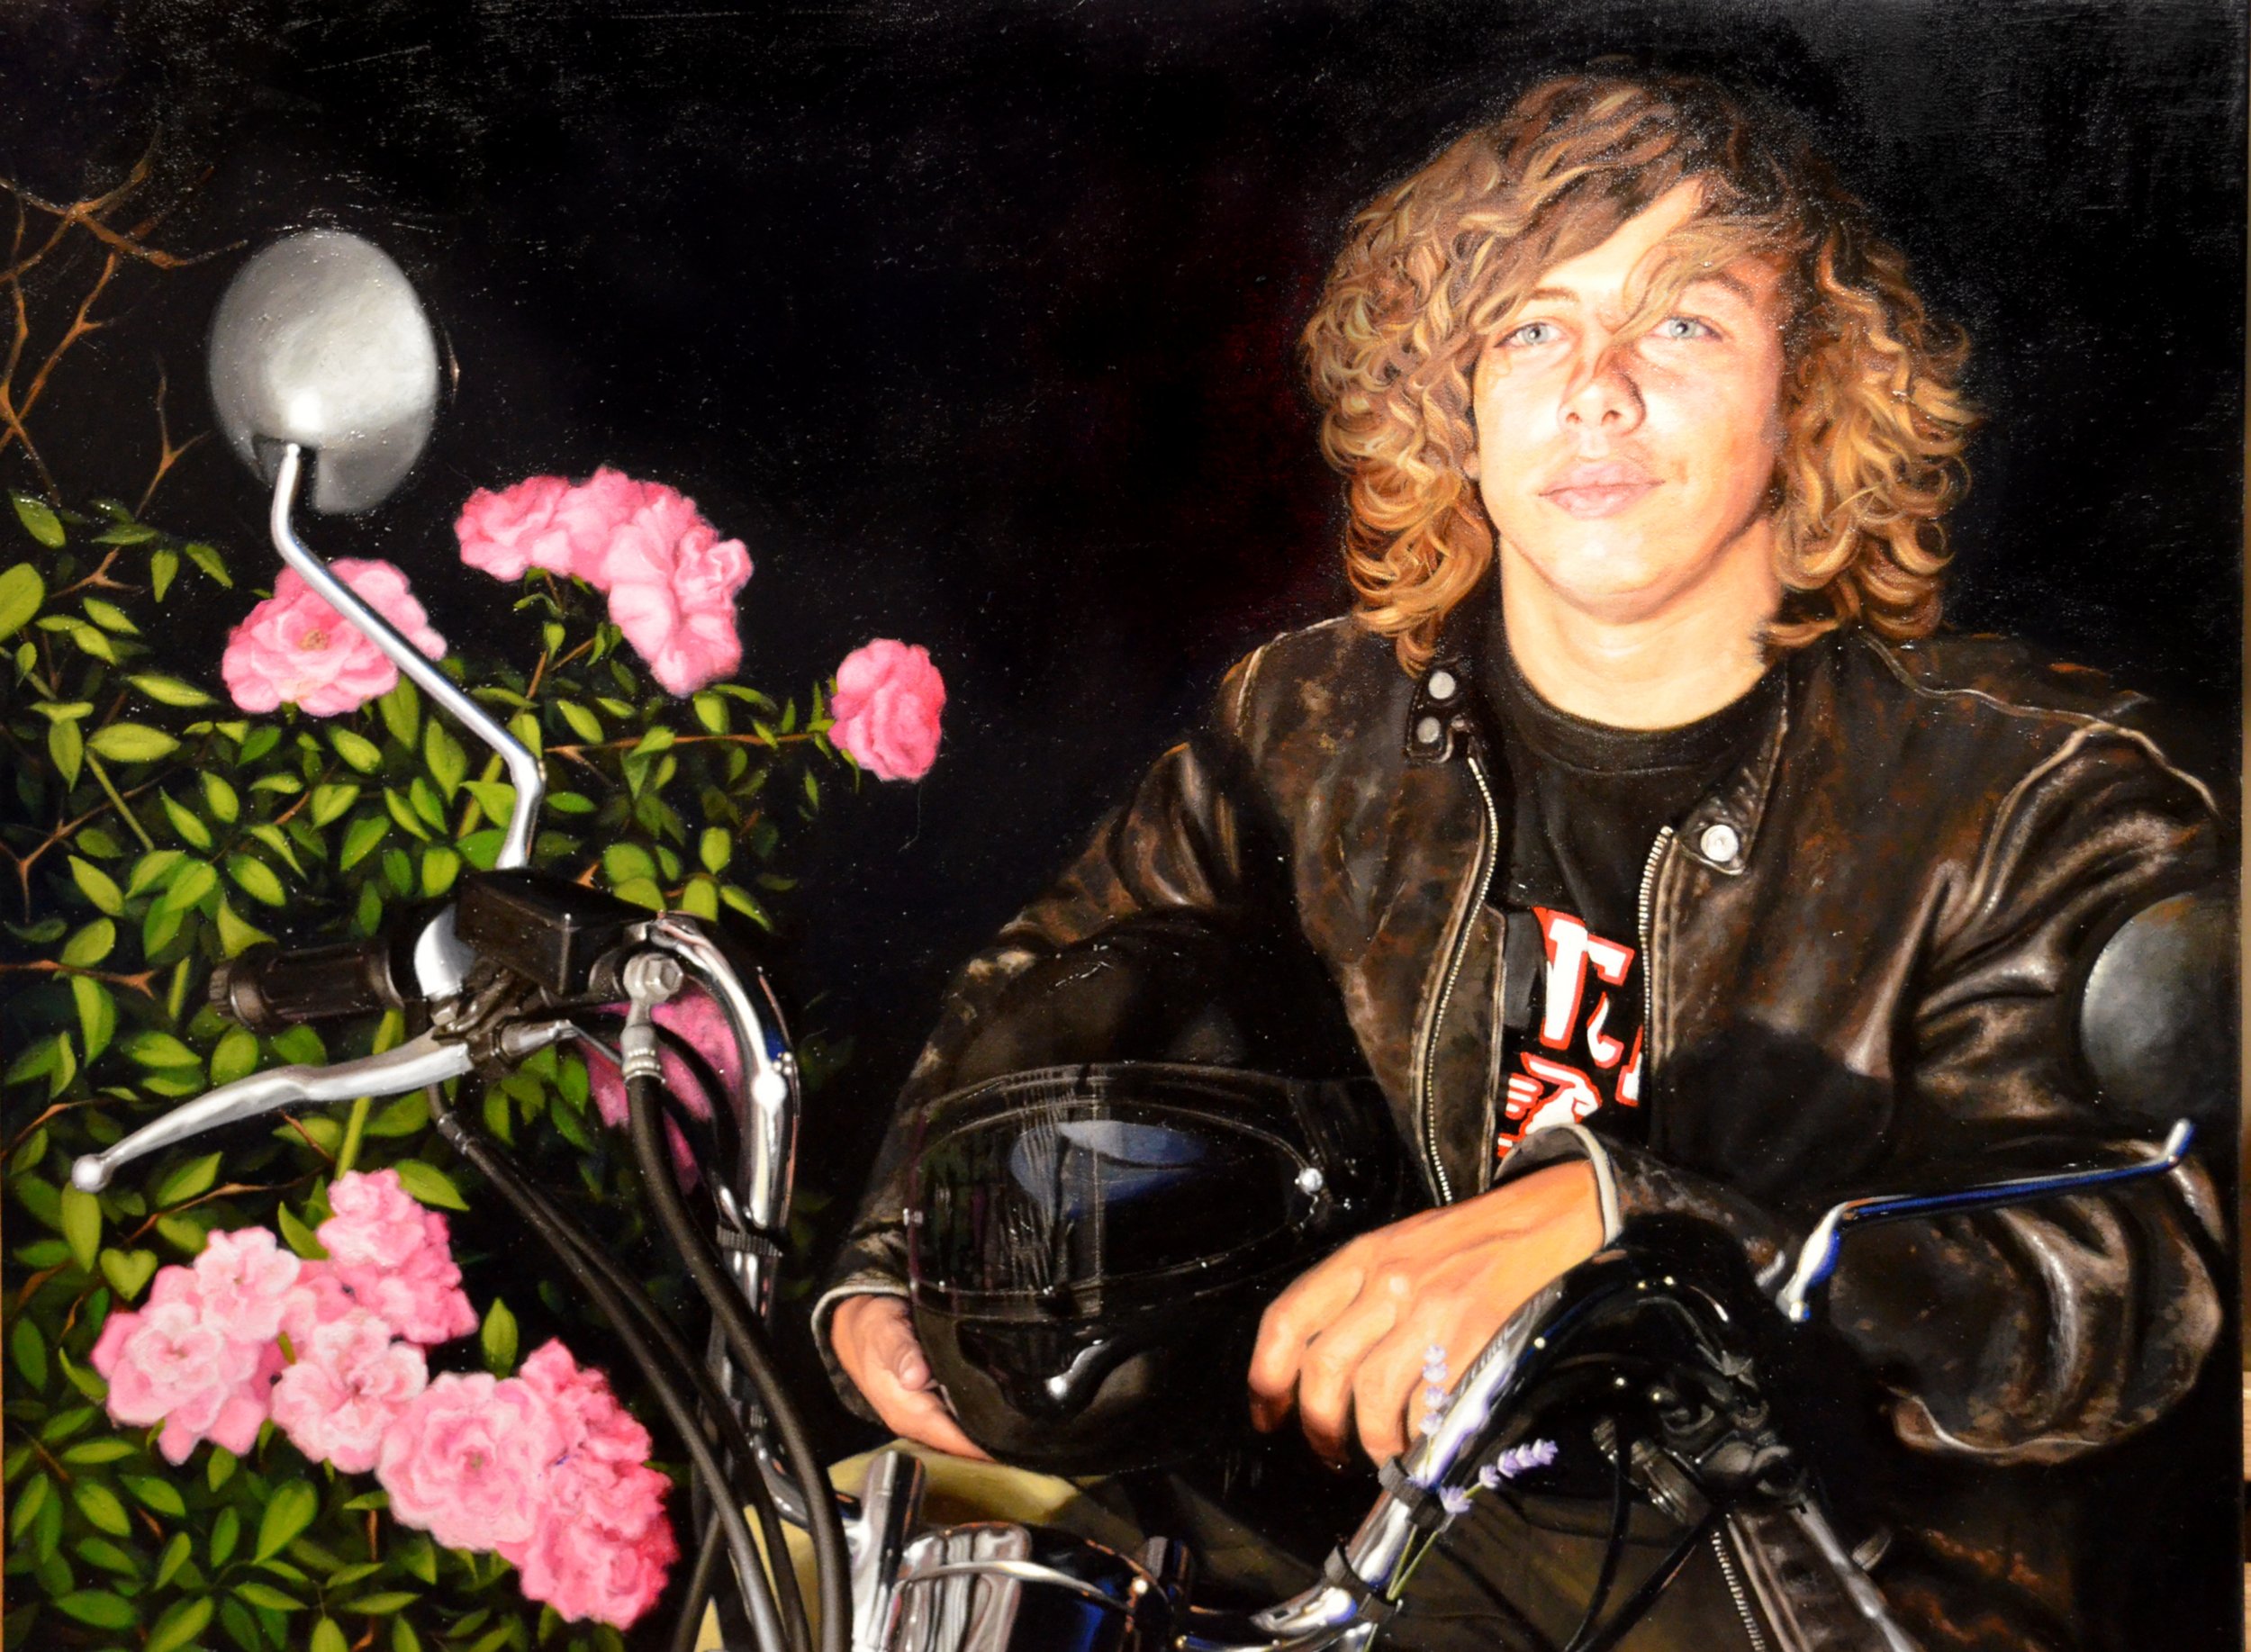
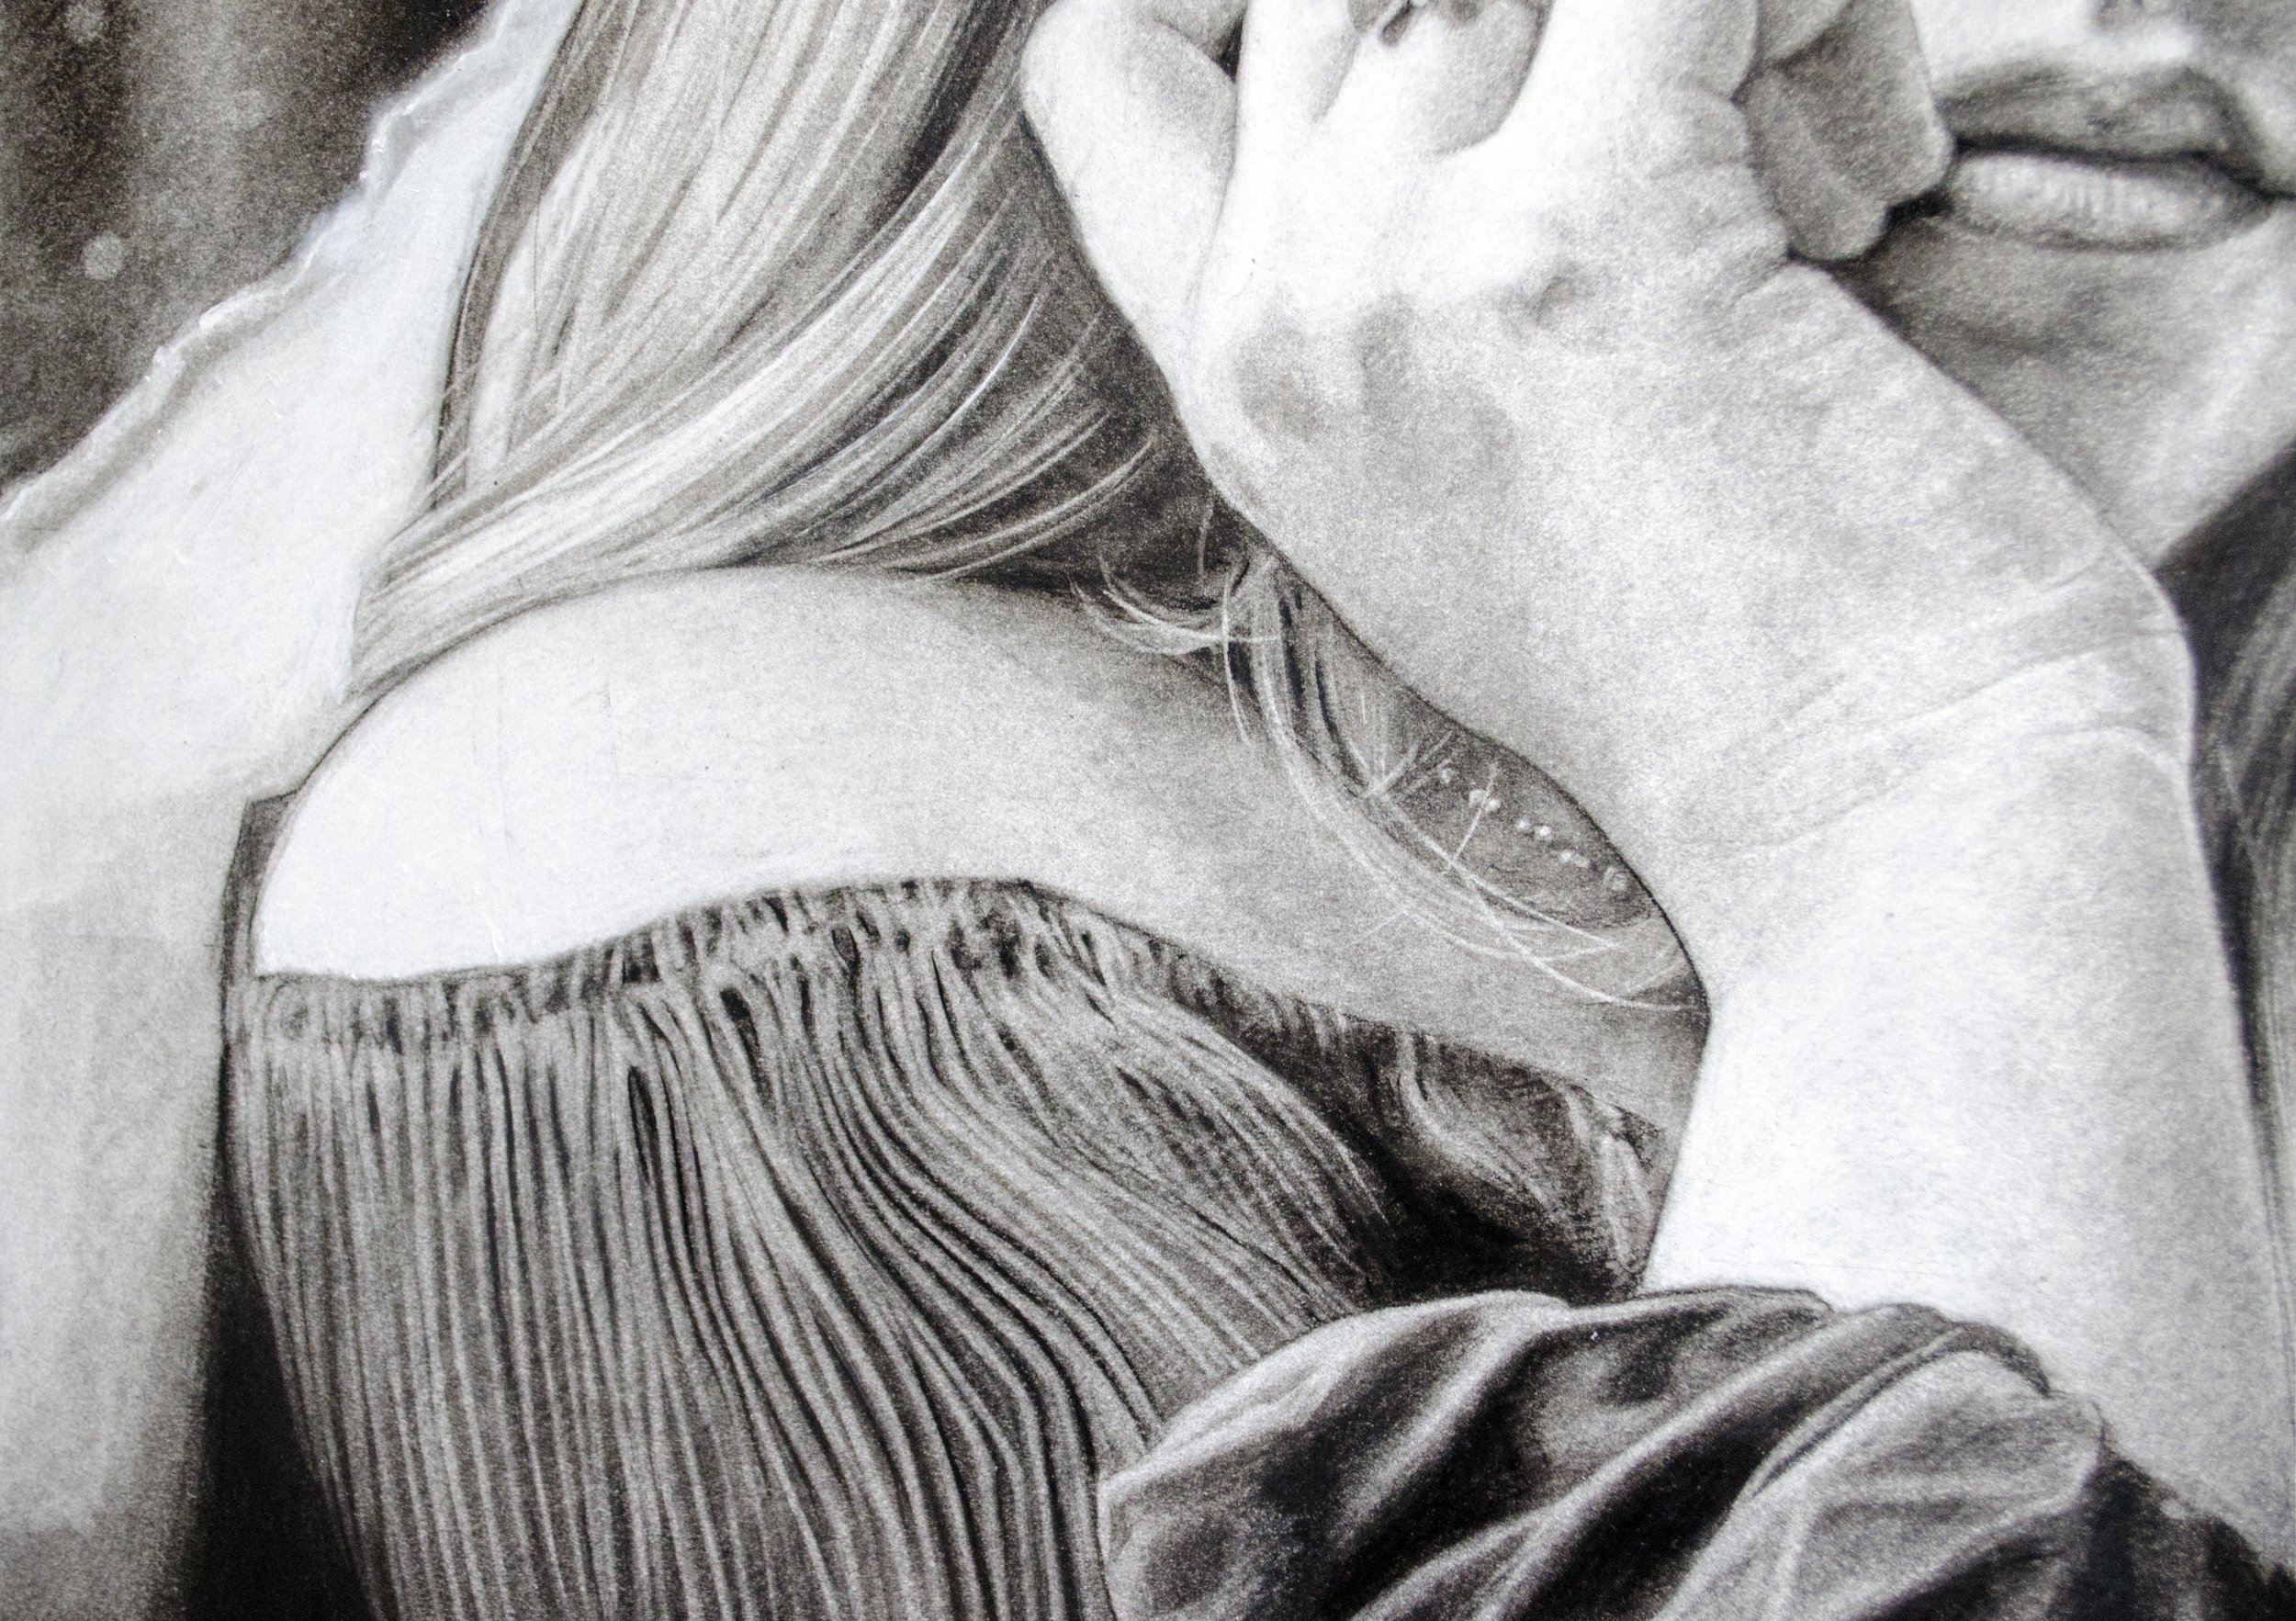 One of the most exciting things about drawing in this way for me as an artist doing representational work is that I can get a variance of descriptive marks. Hair next to fabric next to flesh are all drawn differently but in the same media-charcoal and white chalk. For instance when my attention was on the flesh I was rubbing in a faint layer of charcoal then shaving off a layer of it with a thinly sliced eraser wrapped around my finger. For the shoulder I added a layer of white chalk rubbed into the charcoal ground underneath.
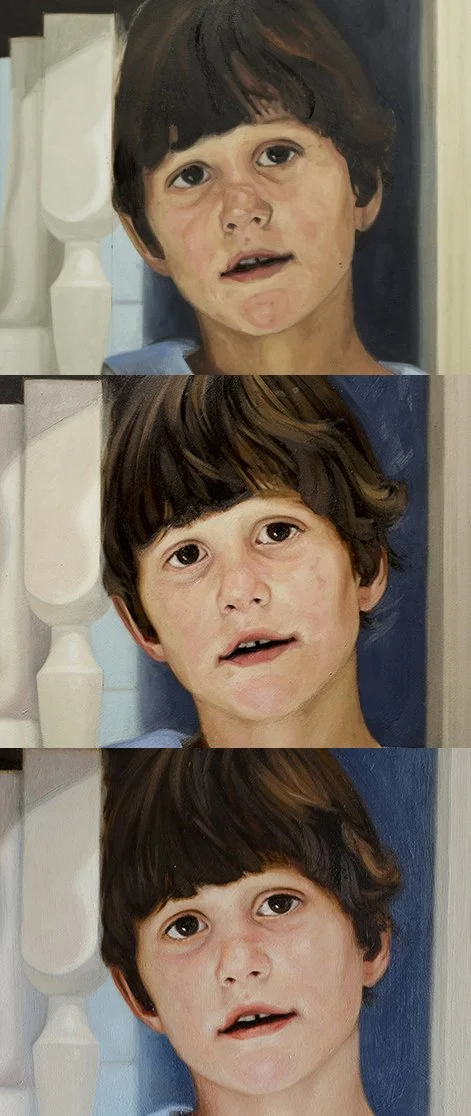
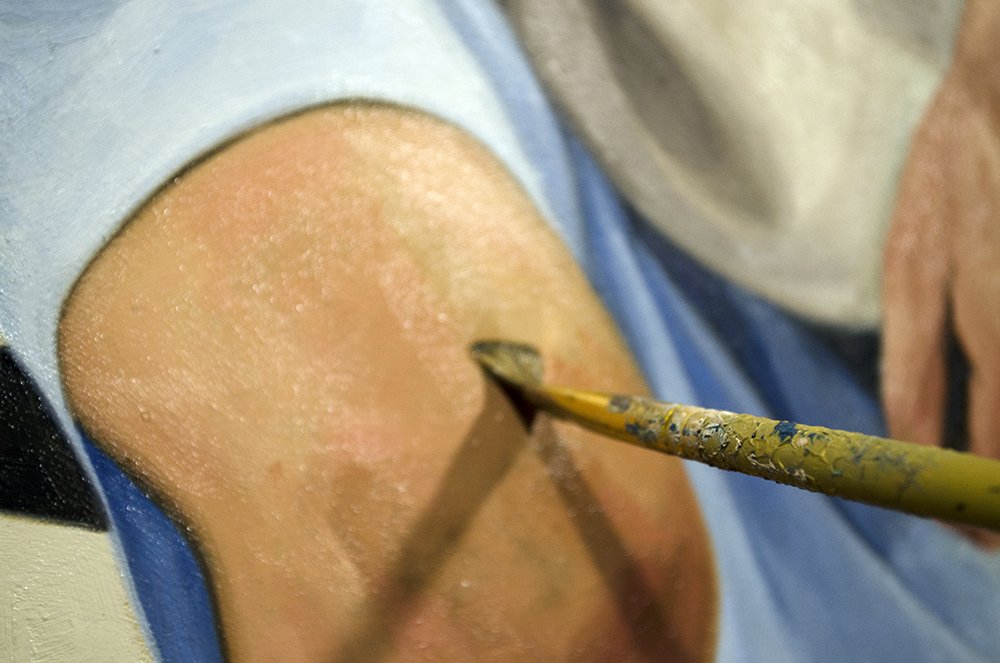
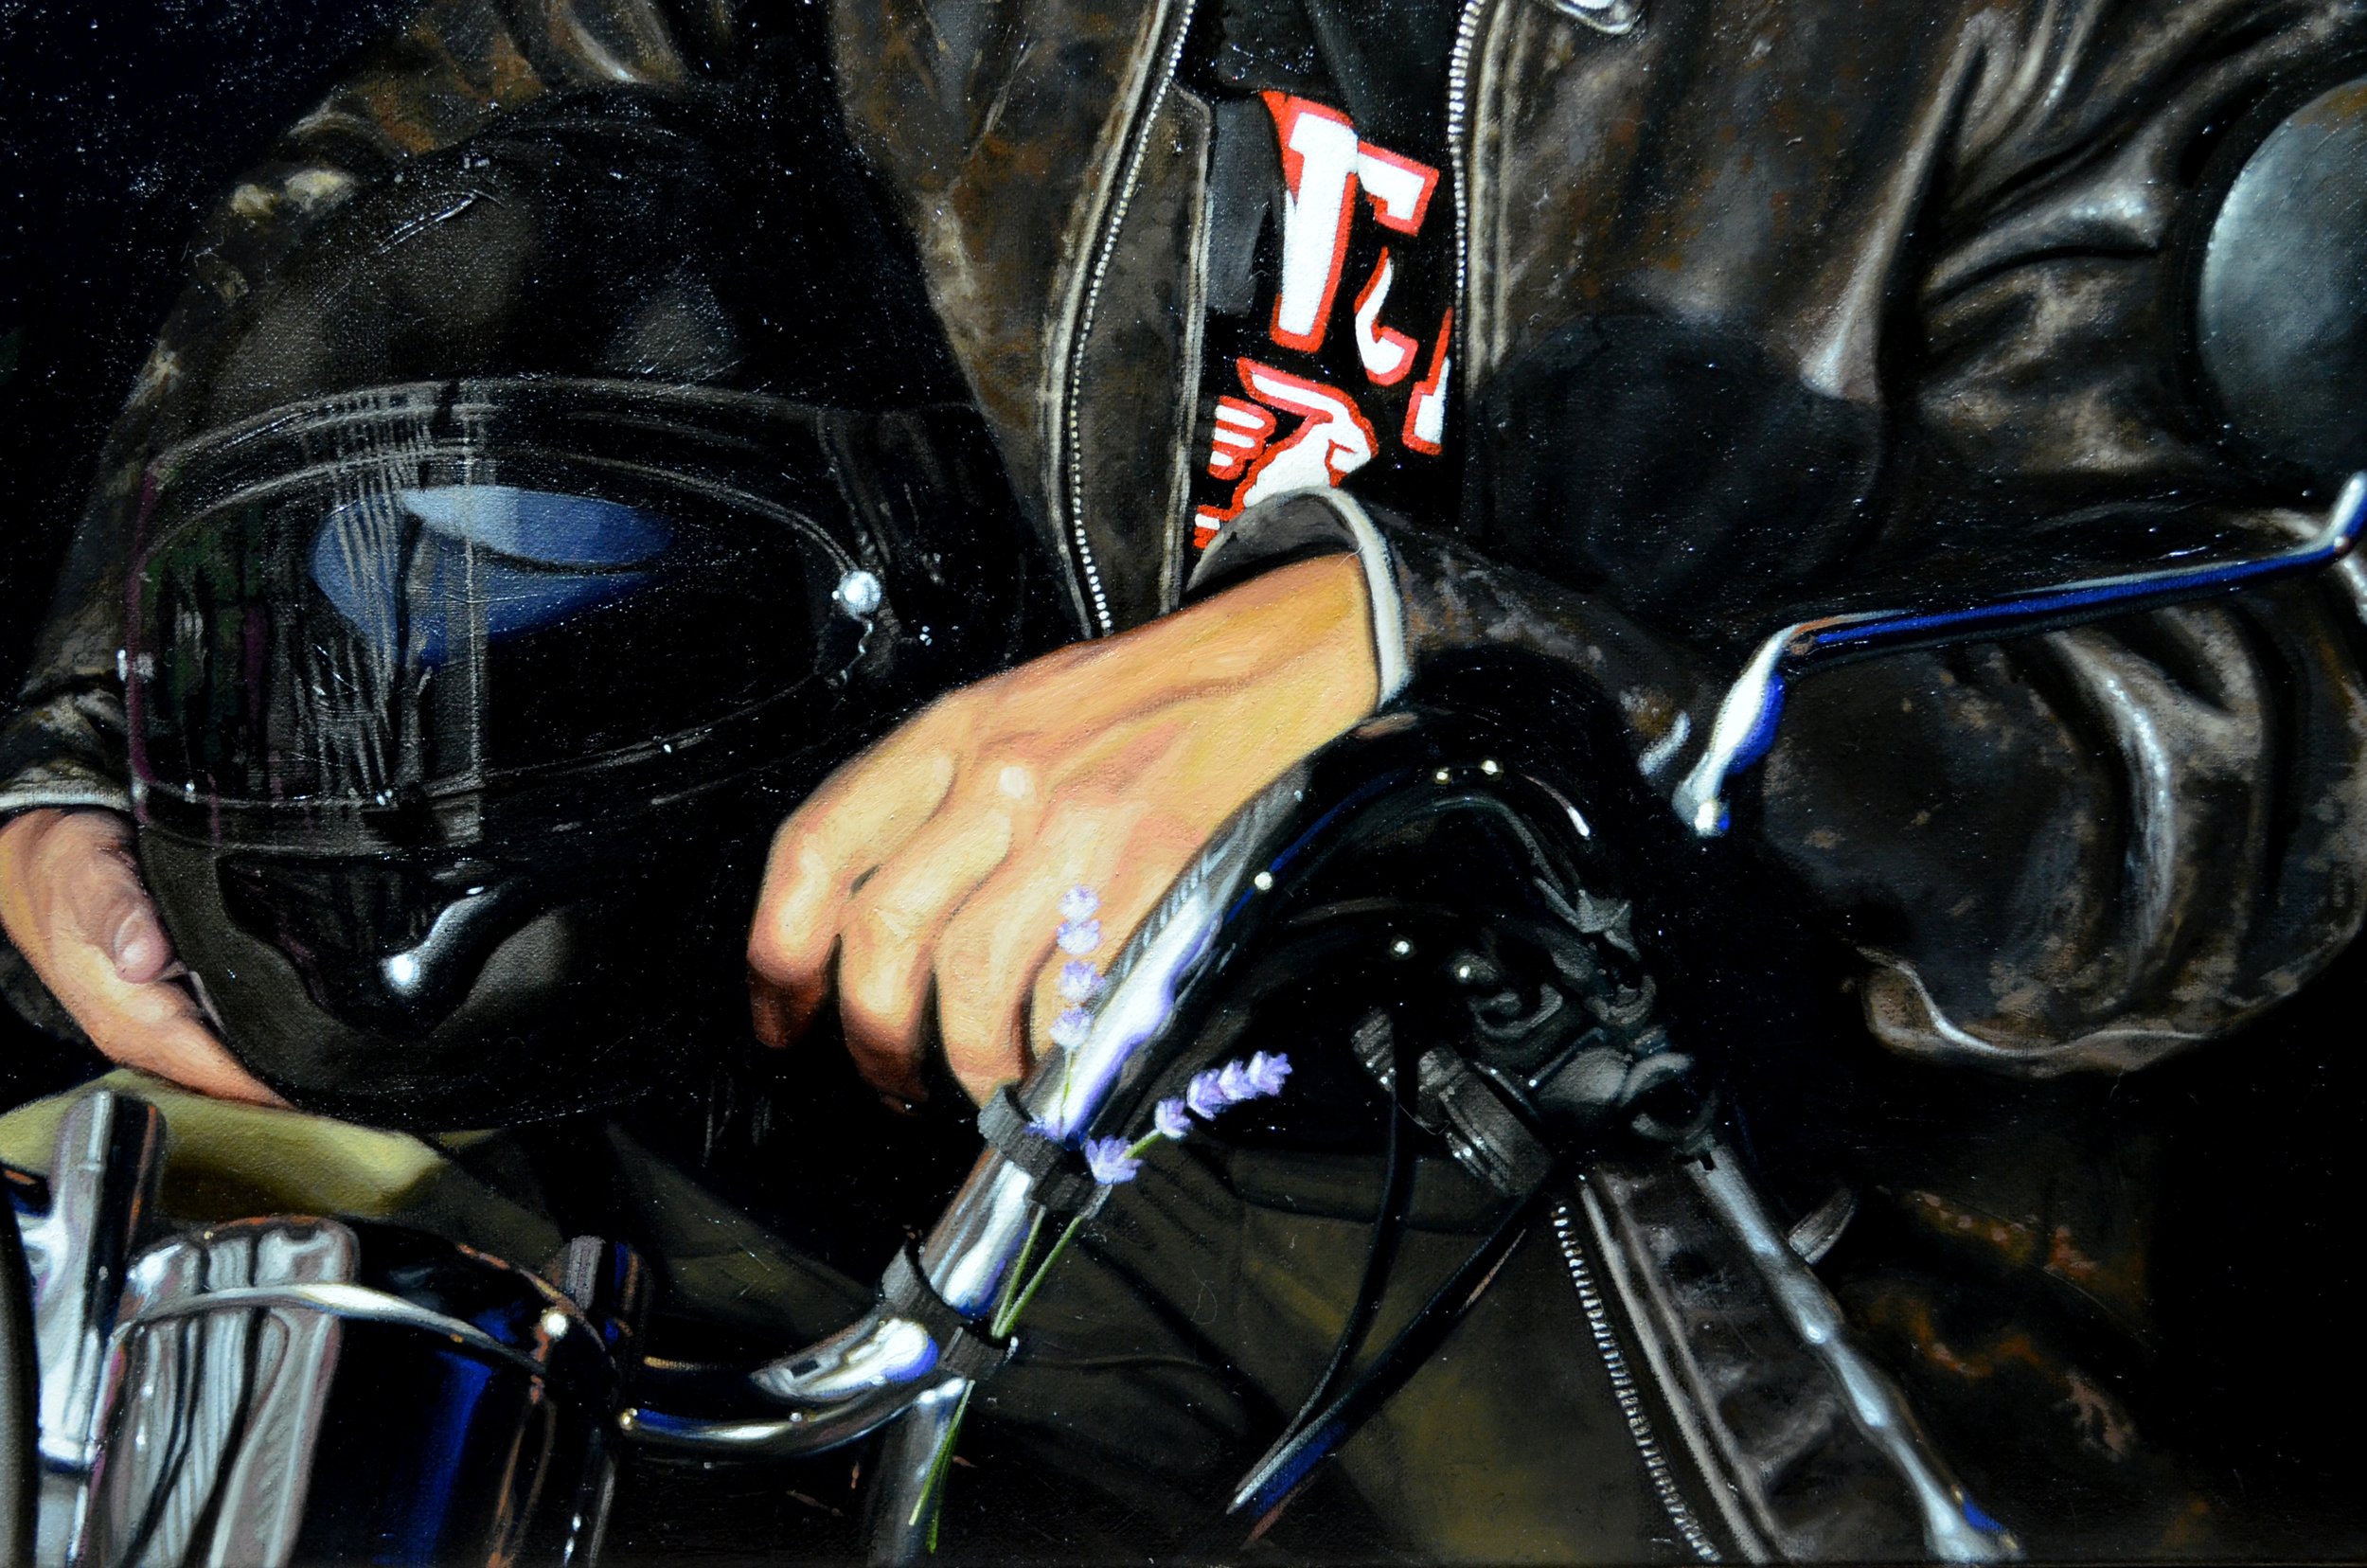
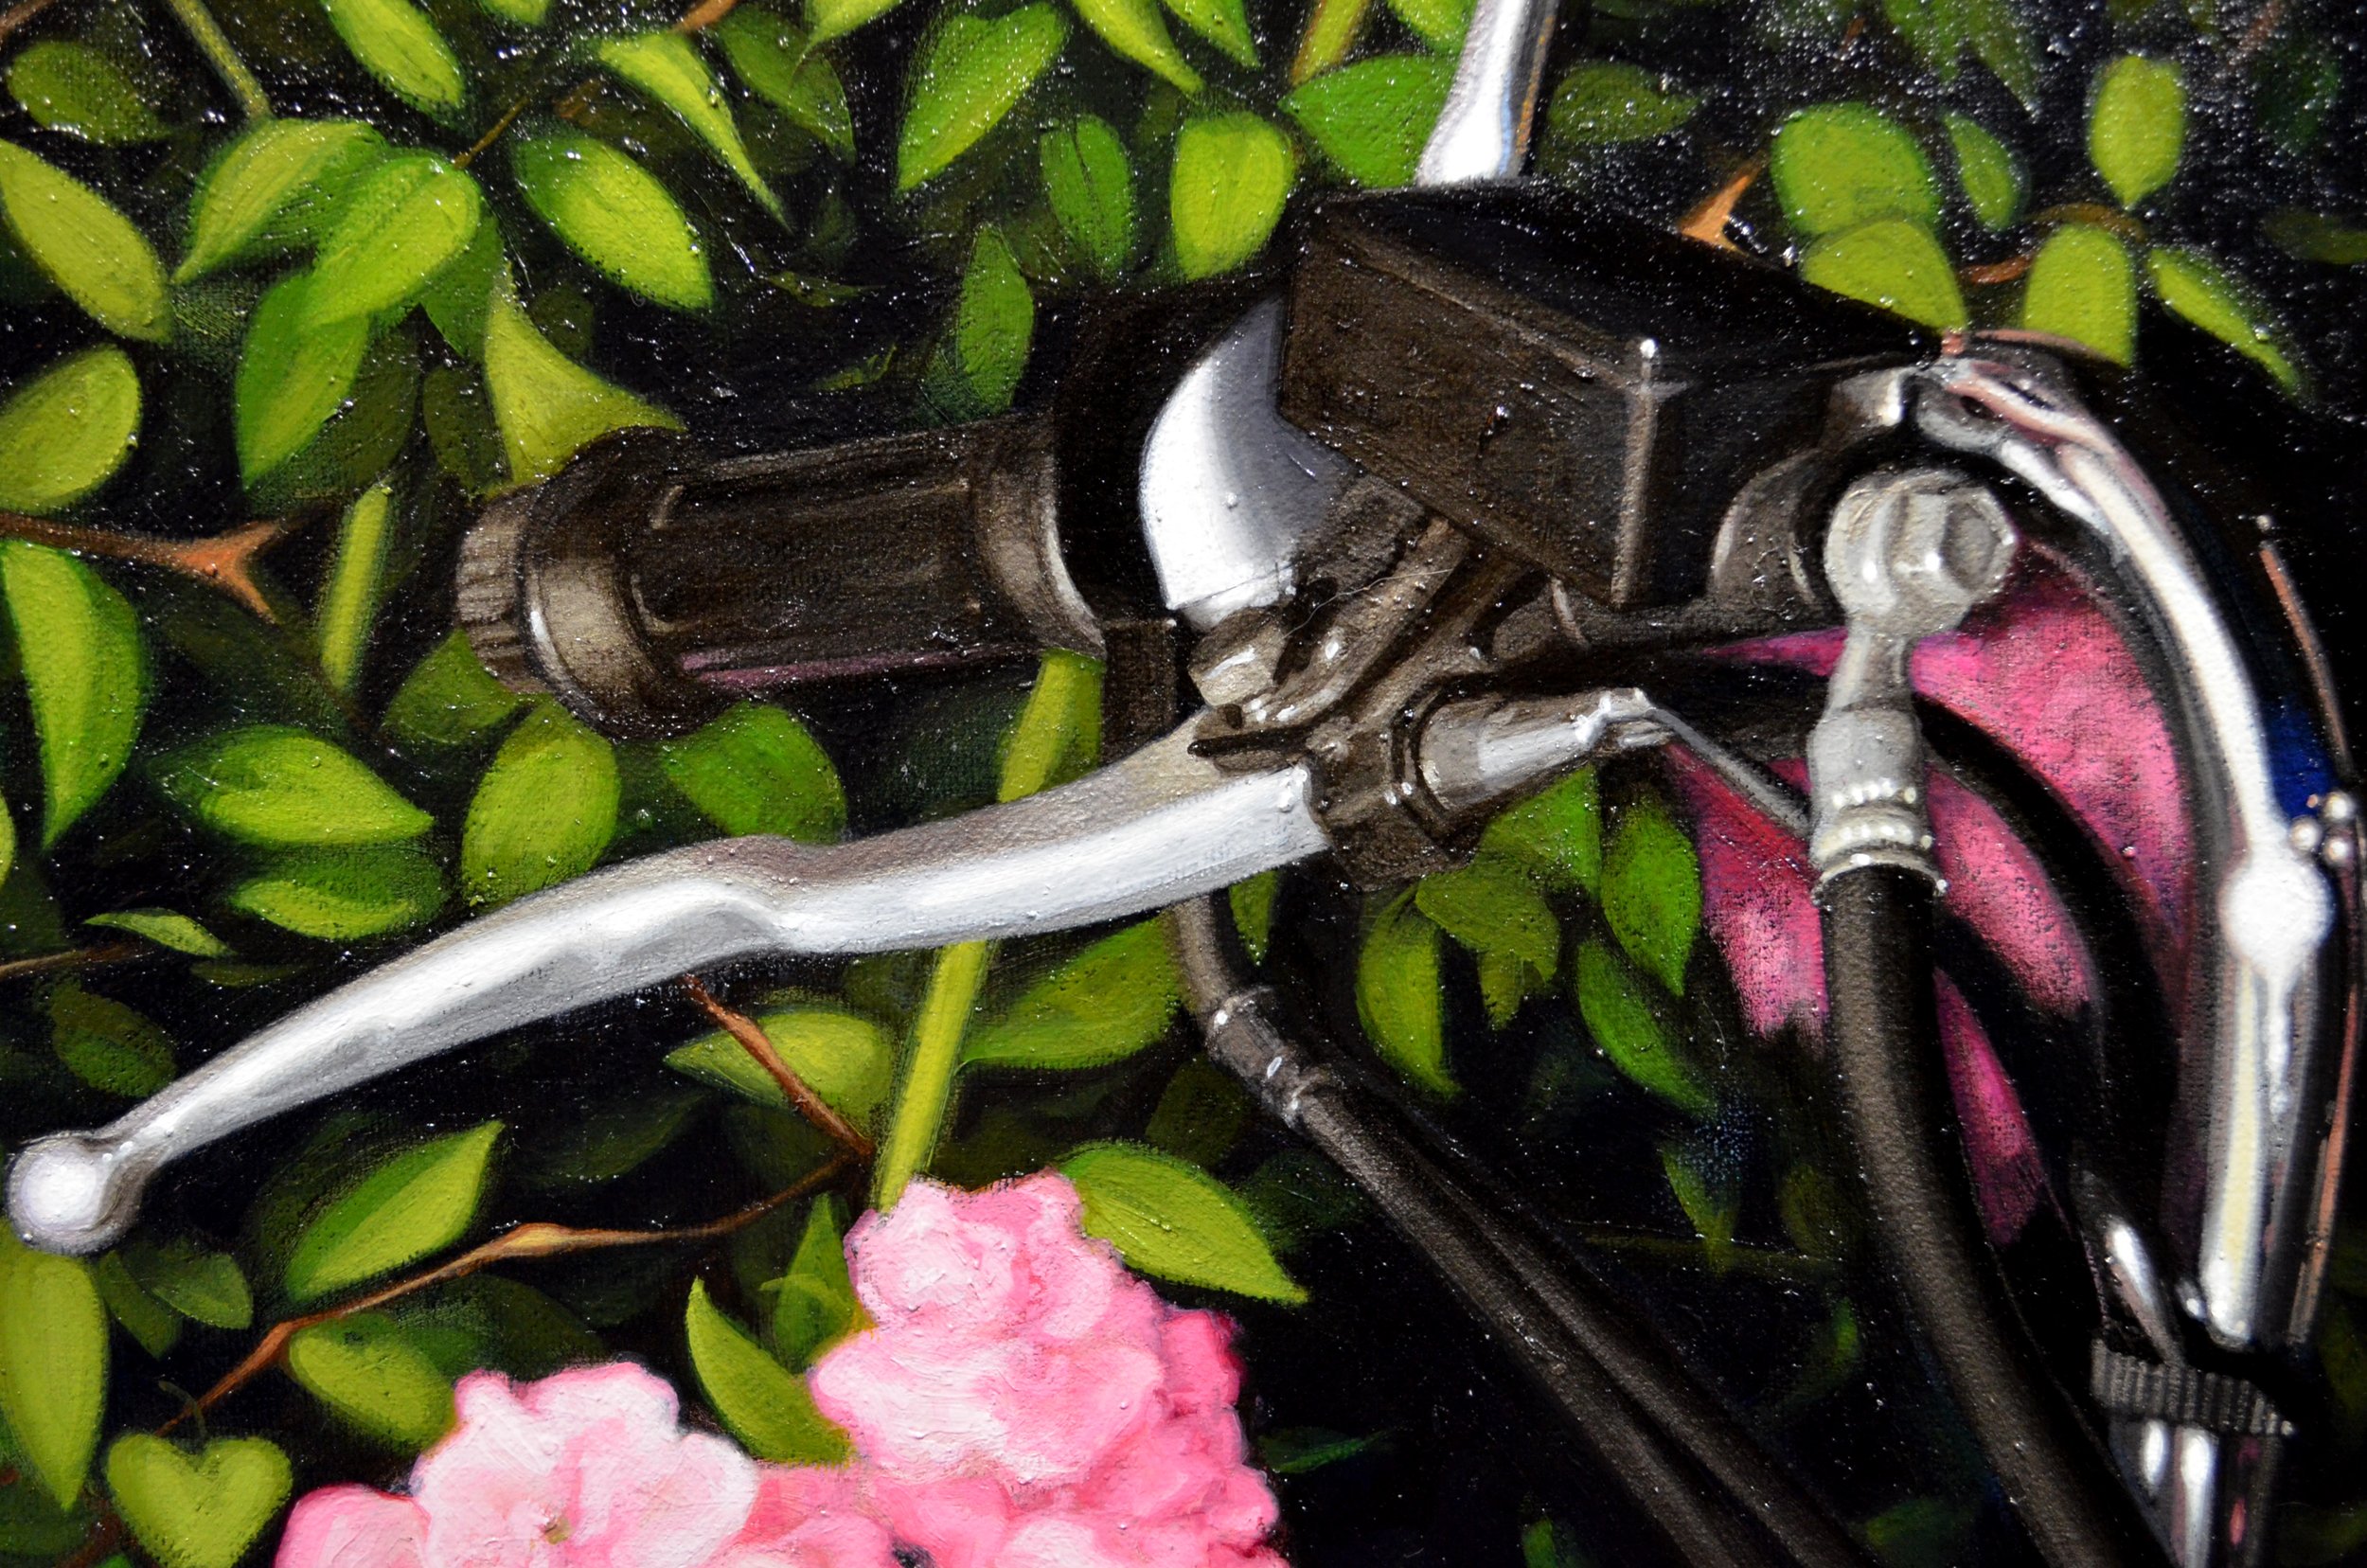
 I save the very sharpened charcoal pencil for adding pigment for detail in the facial features but use an equally sharpened hard plastic eraser removing pigment detail in the hair. I'm showing close up details of the work so you can see what I am talking about.
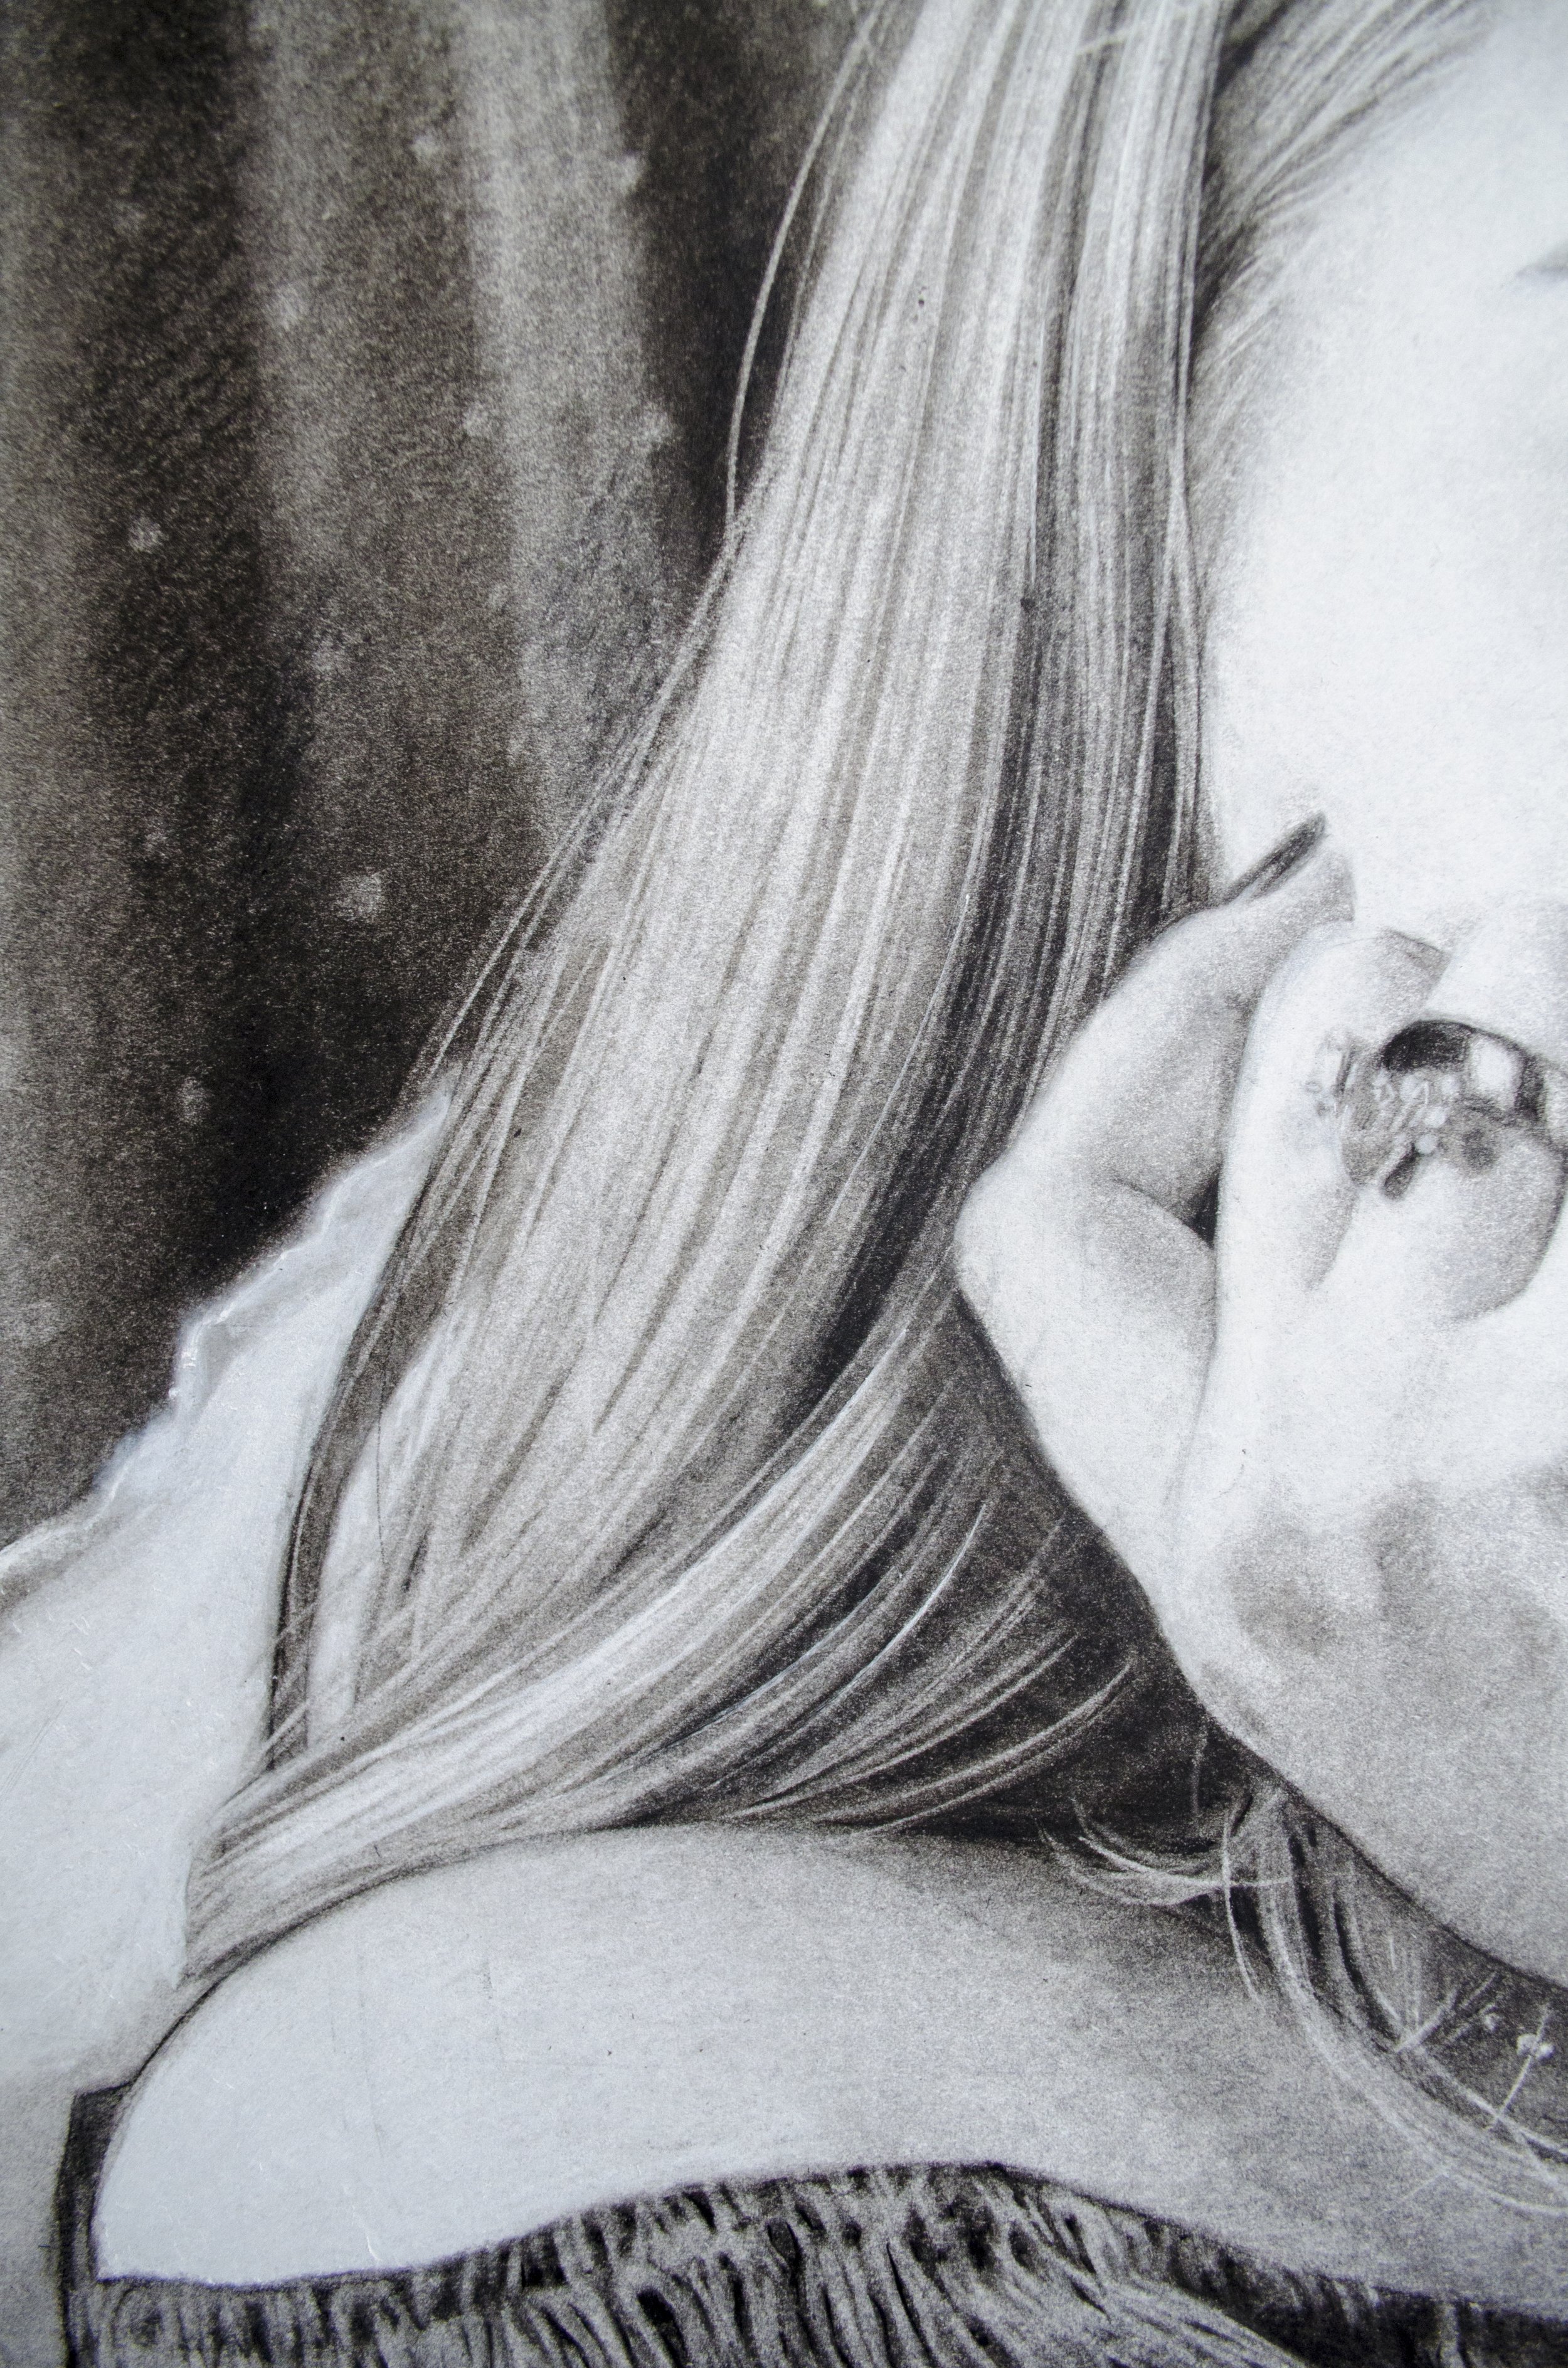 I'll be back soon with updates from my current project but until then if you are interested in commission a portrait from me of this or any kind please contact me here or through Jarvis Hall Gallery here. I am very grateful for any projects as it is a major way to support my studio practice.
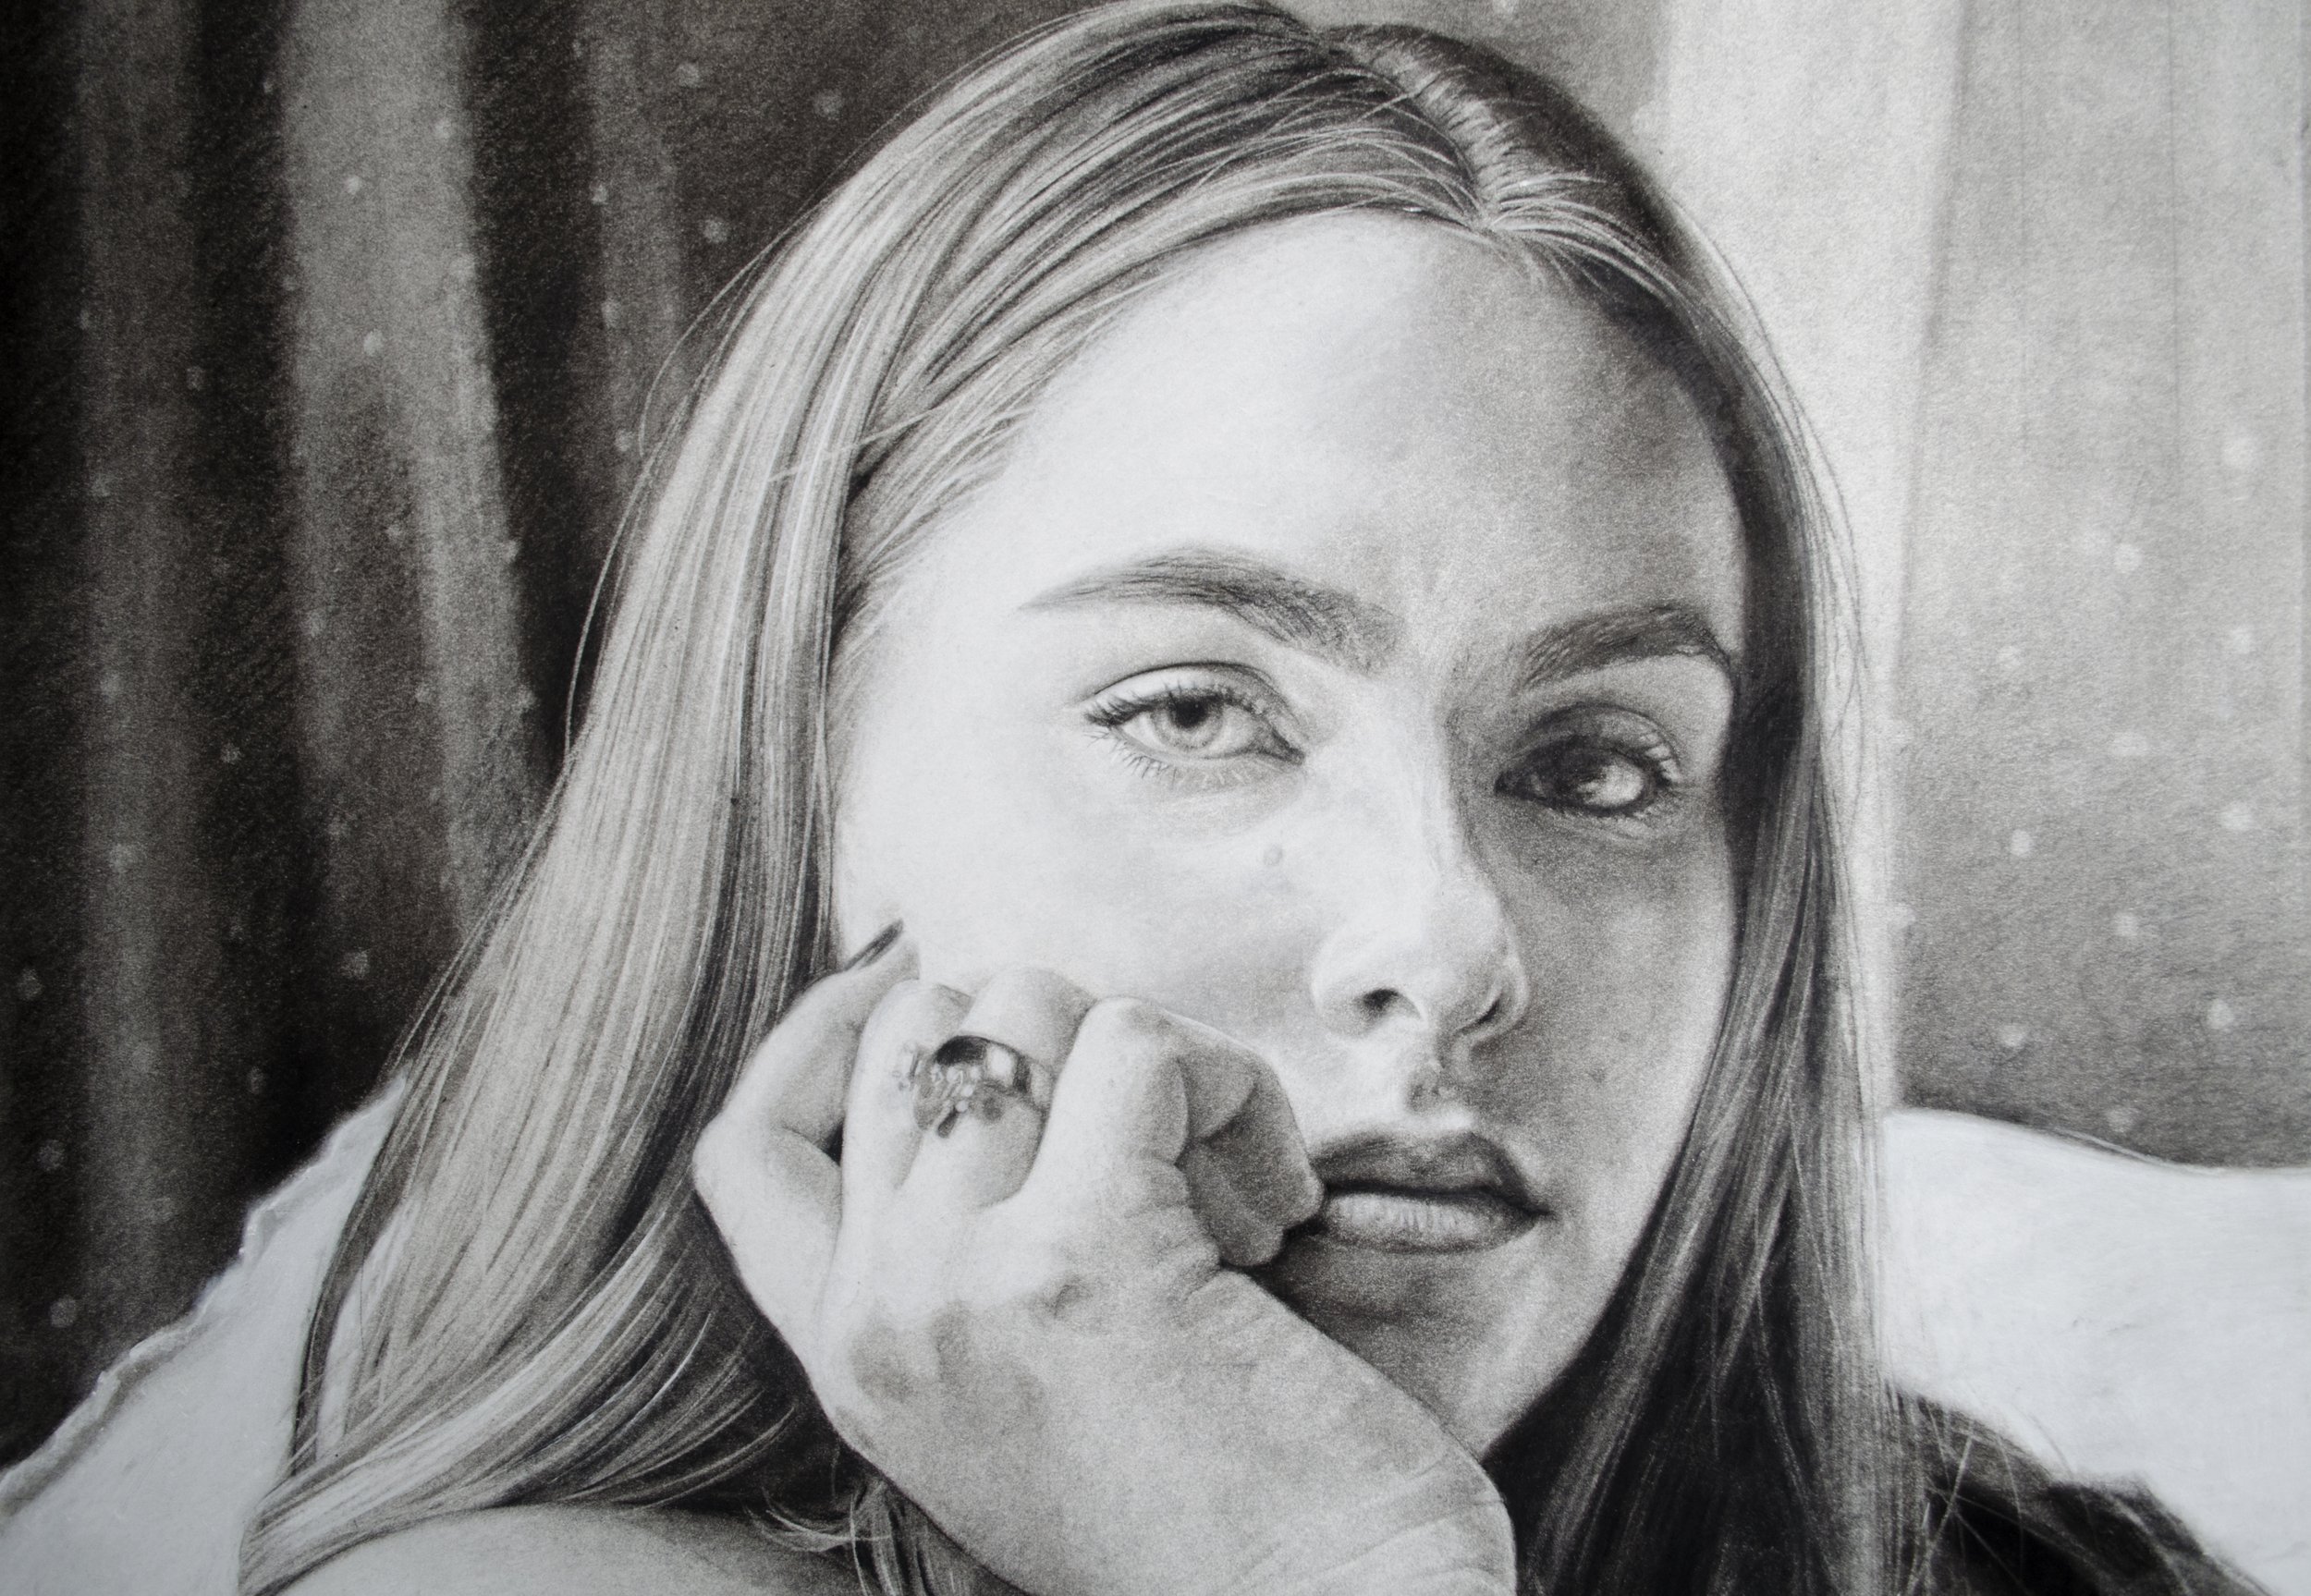
 Thanks for reading and check back in January for more or watch for links on my
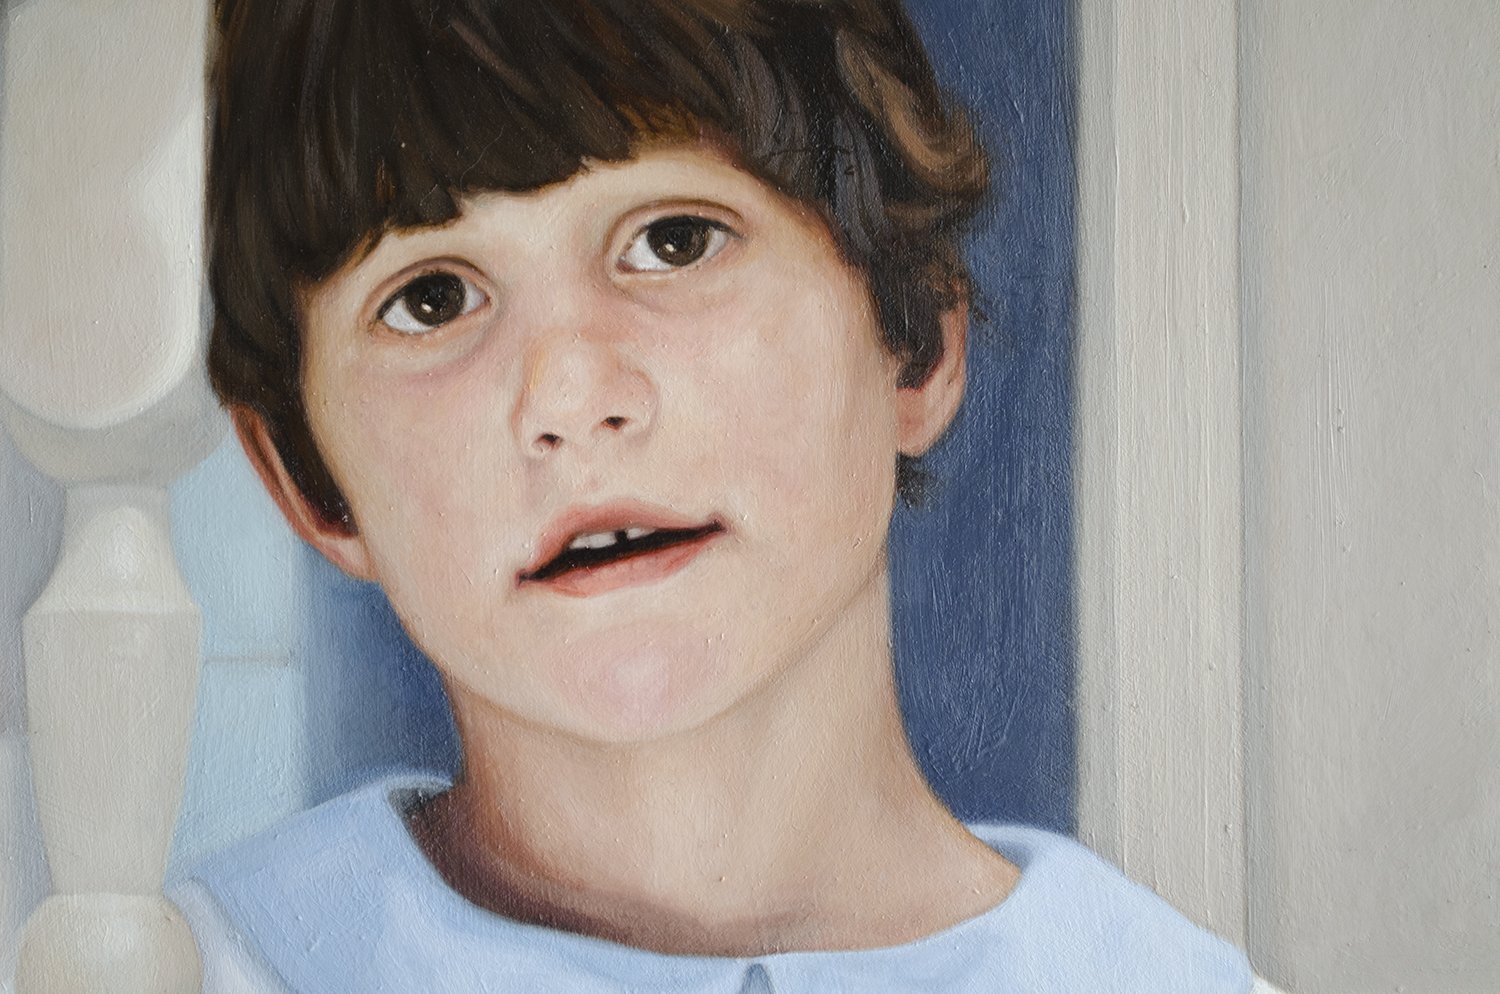
  I use photographs to paint my portraits from but I never paint from a single photo. I design the images from many pictures first composing on the computer and then om paper in the form of a drawing on paper. This stage is always very important and there is a good amount of invention and creativity as I get the structure of the design just right. In these pieces this stage was especially important as we had decided upon doing a mirror image of the girls. They were photographed on either side of a symmetrical buffet cupboard but I did much work to make"mirror" quality of the setting just right which hadn't appeared so in the photos. The work included tacking string on the wall across the room from my easel to follow the perspective lines.I stayed working on the two as I began the finished pieces. Here you can see I had both on the easel as I transferred the images by grid onto the boards and began the underpainting.
 Once
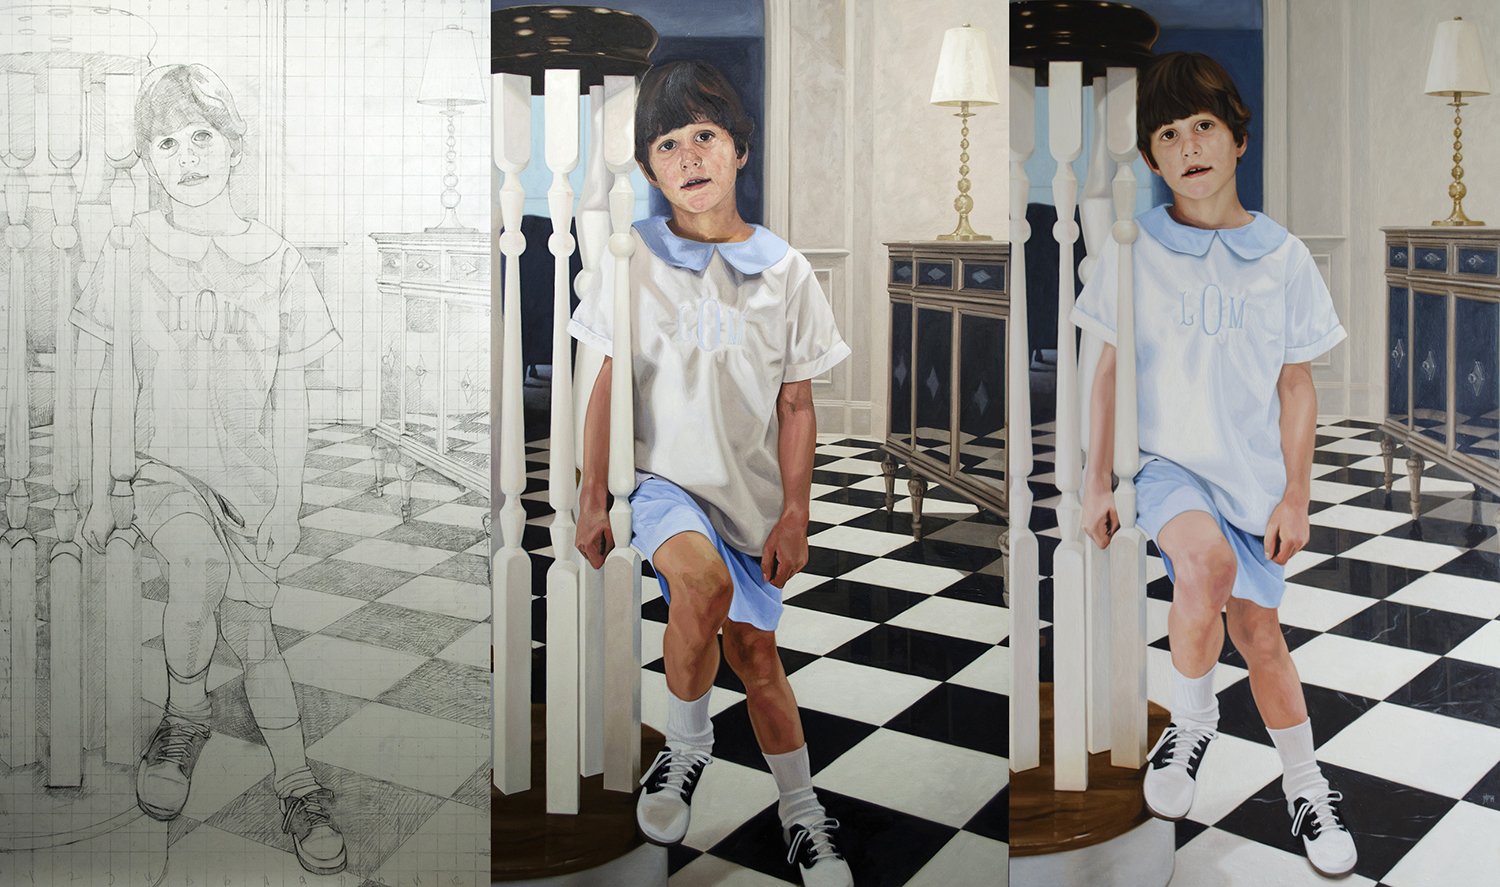
Once  Once a fair amount of paint was started and I felt confident they would match enough. I decided to give all of my attention to one until it was done.So here then are images of the first one in progress. It follows my usual working process except that this time I used clear gesso. I have been enjoying working on coloured grounds recently and so began this way.The initial study on paper...
 Then details of the drawing transferred to the board. I do this all by hand with French curves and rulers with graphite on one coat and then another coast of gesso on top.

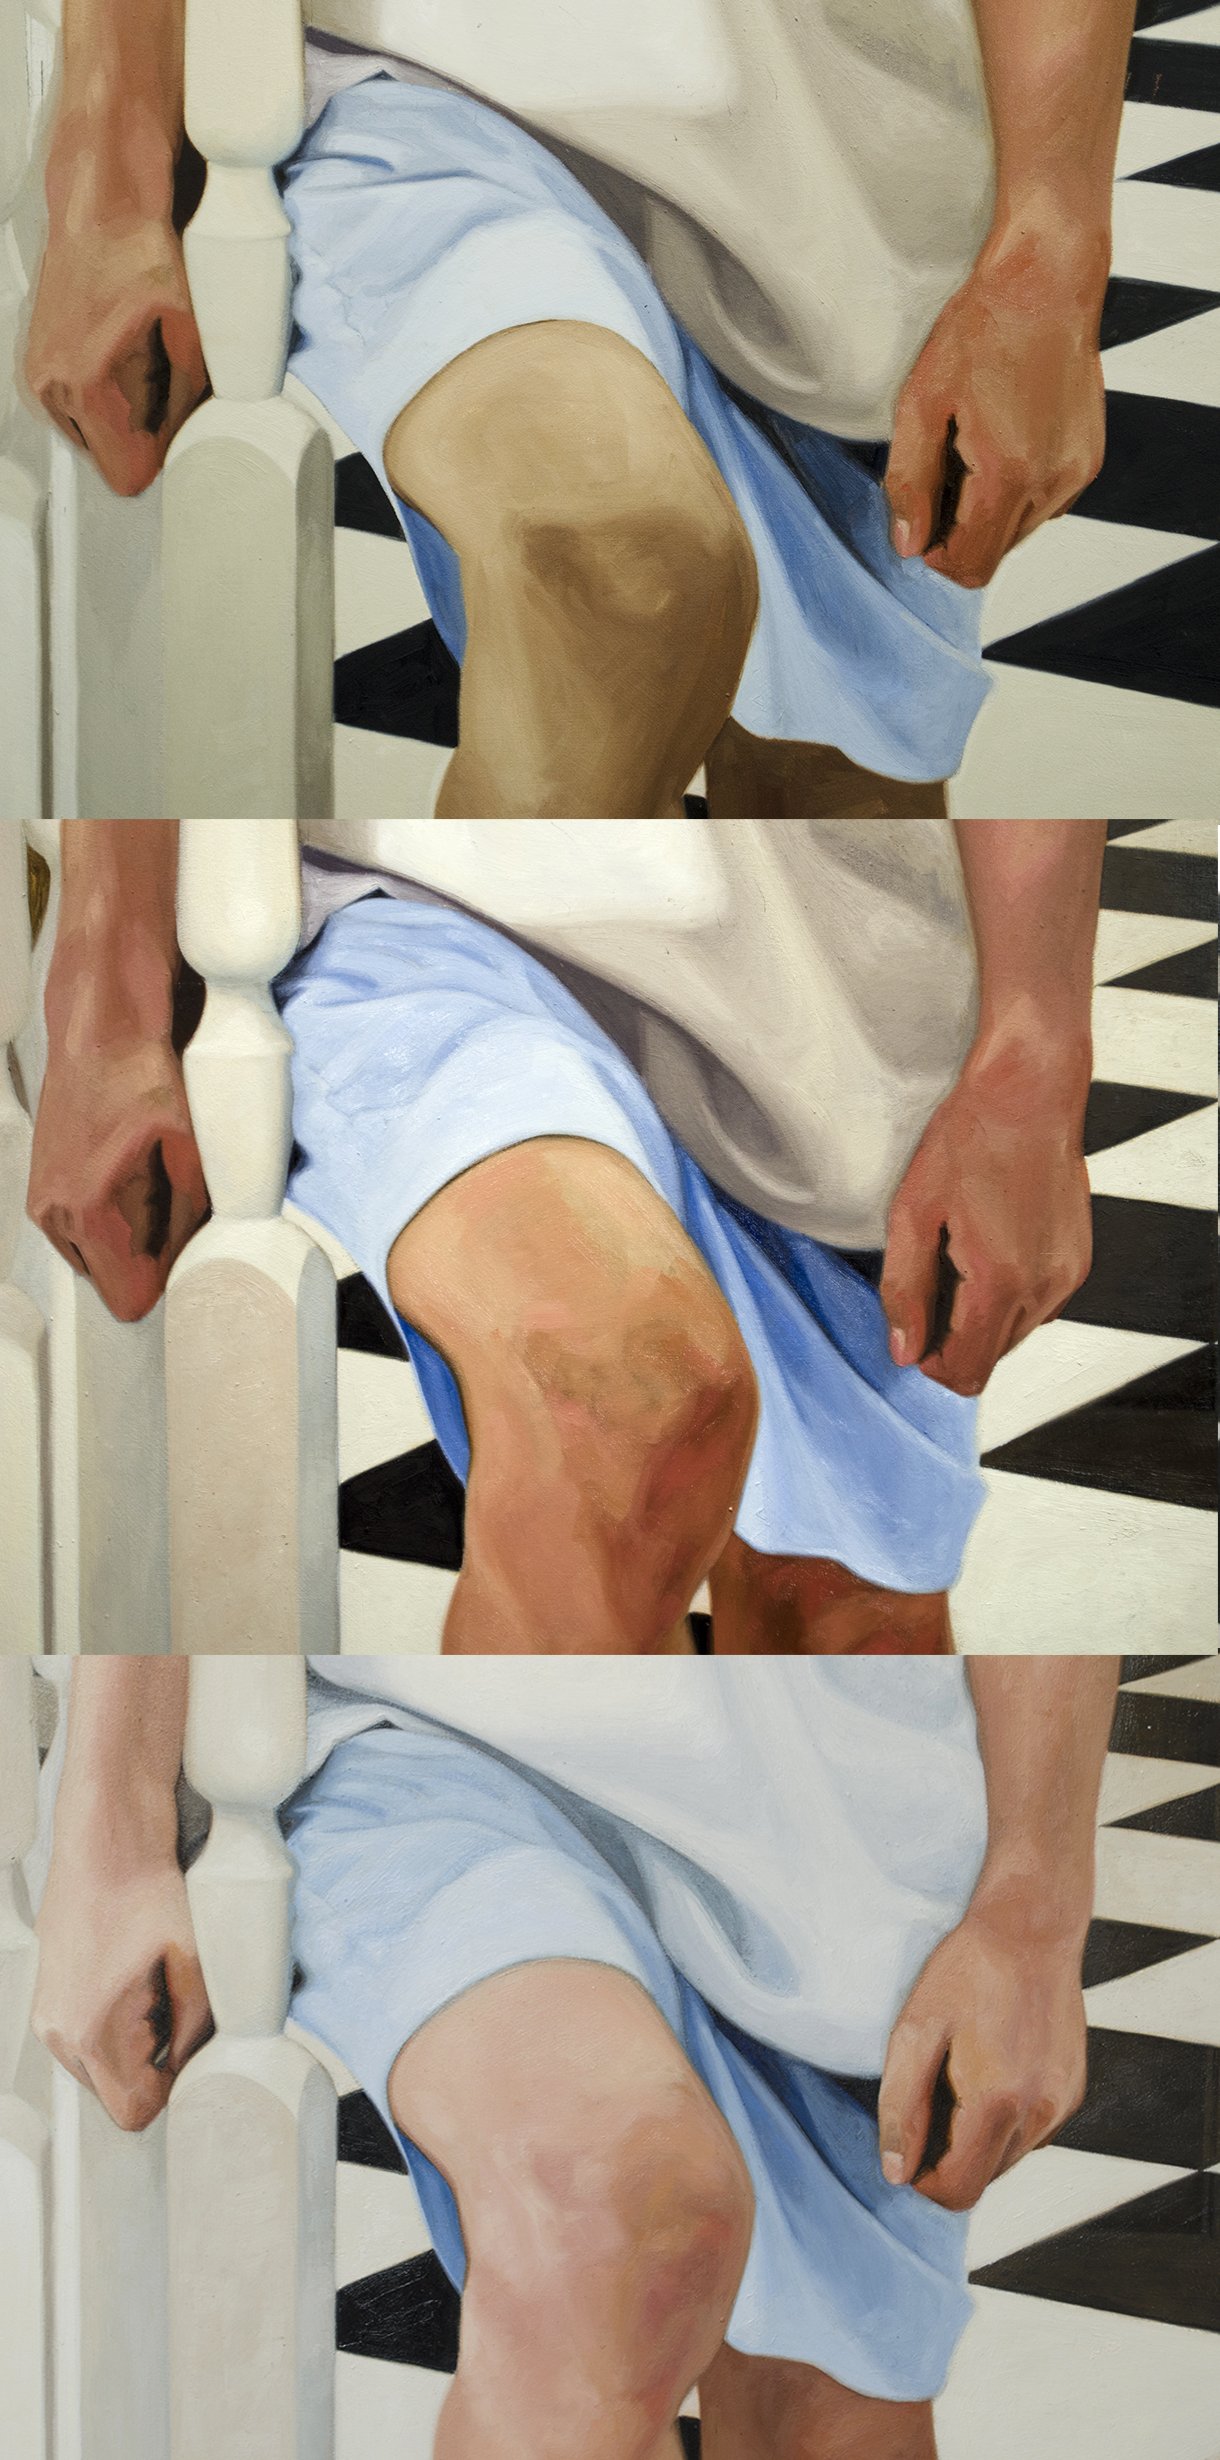
 My painting process is one of many layers painted on top of each other with areas of all application of paint from glazed colour through to very opaque scumbled texture. The very first underpainting has some form to it but is quite flat compared to later stages will add form and light.
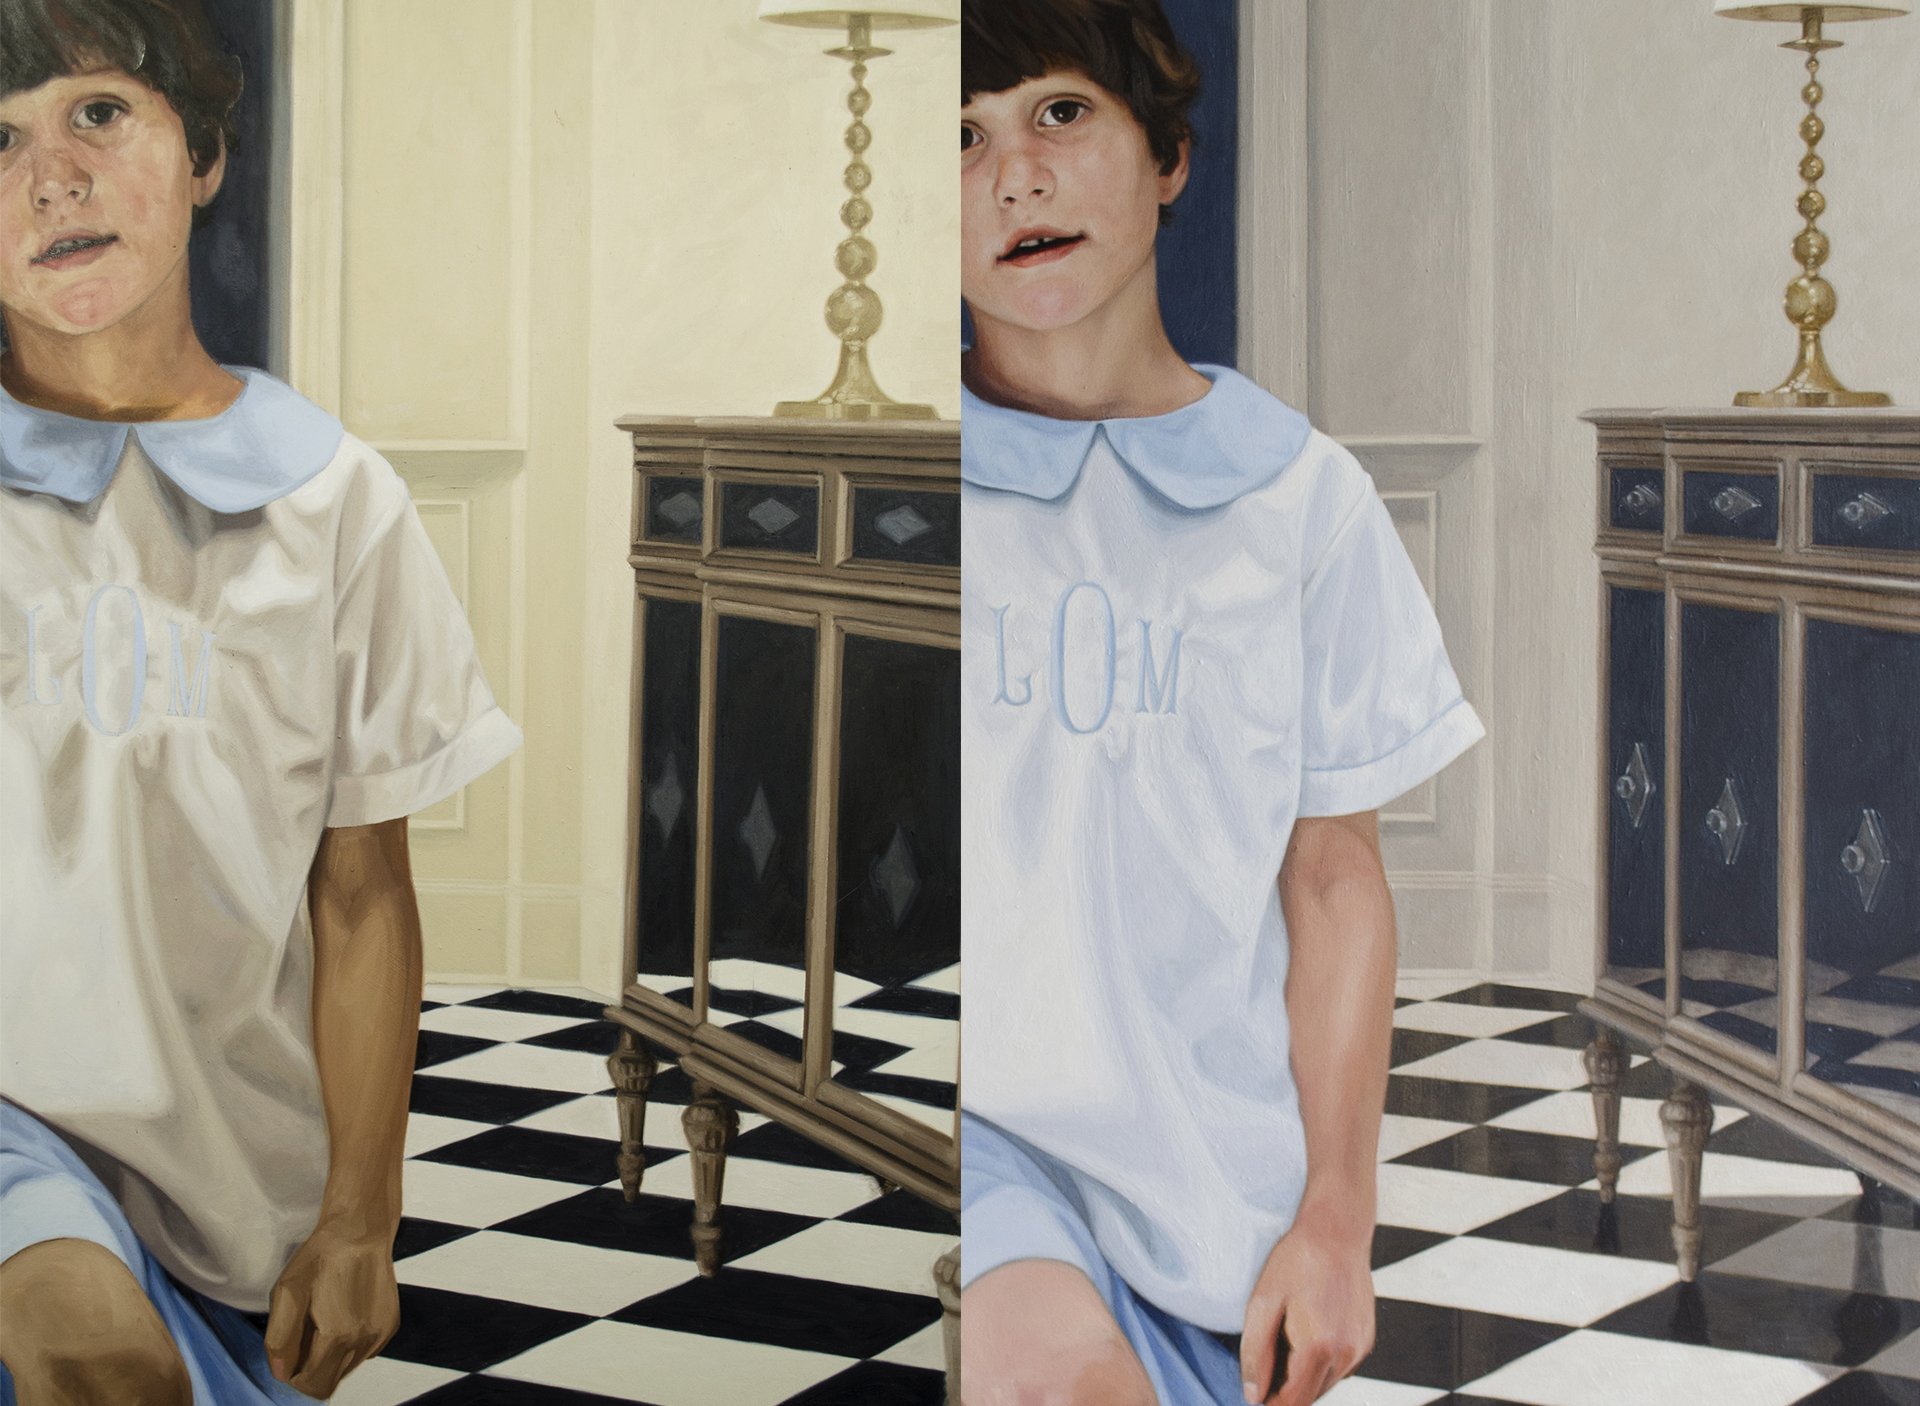
 Here the work develops over a few "layers" of paint...
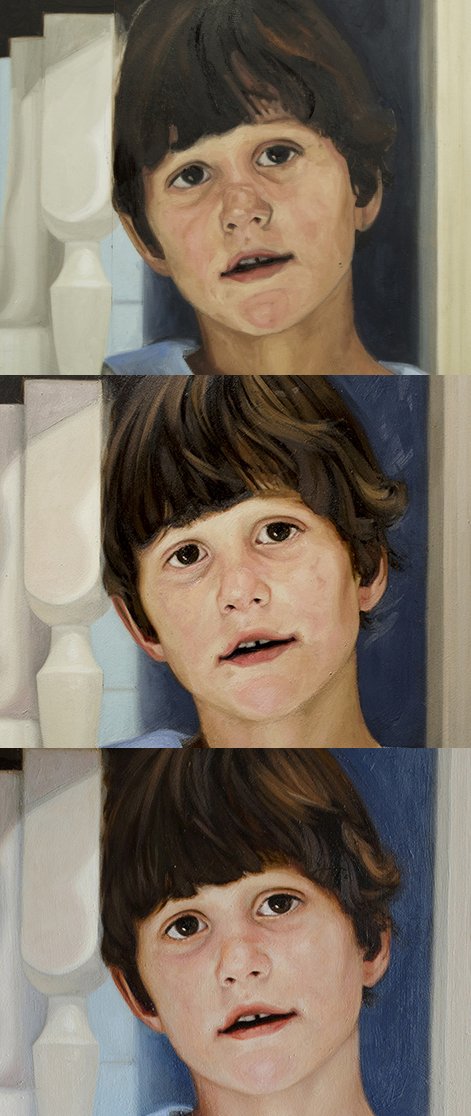
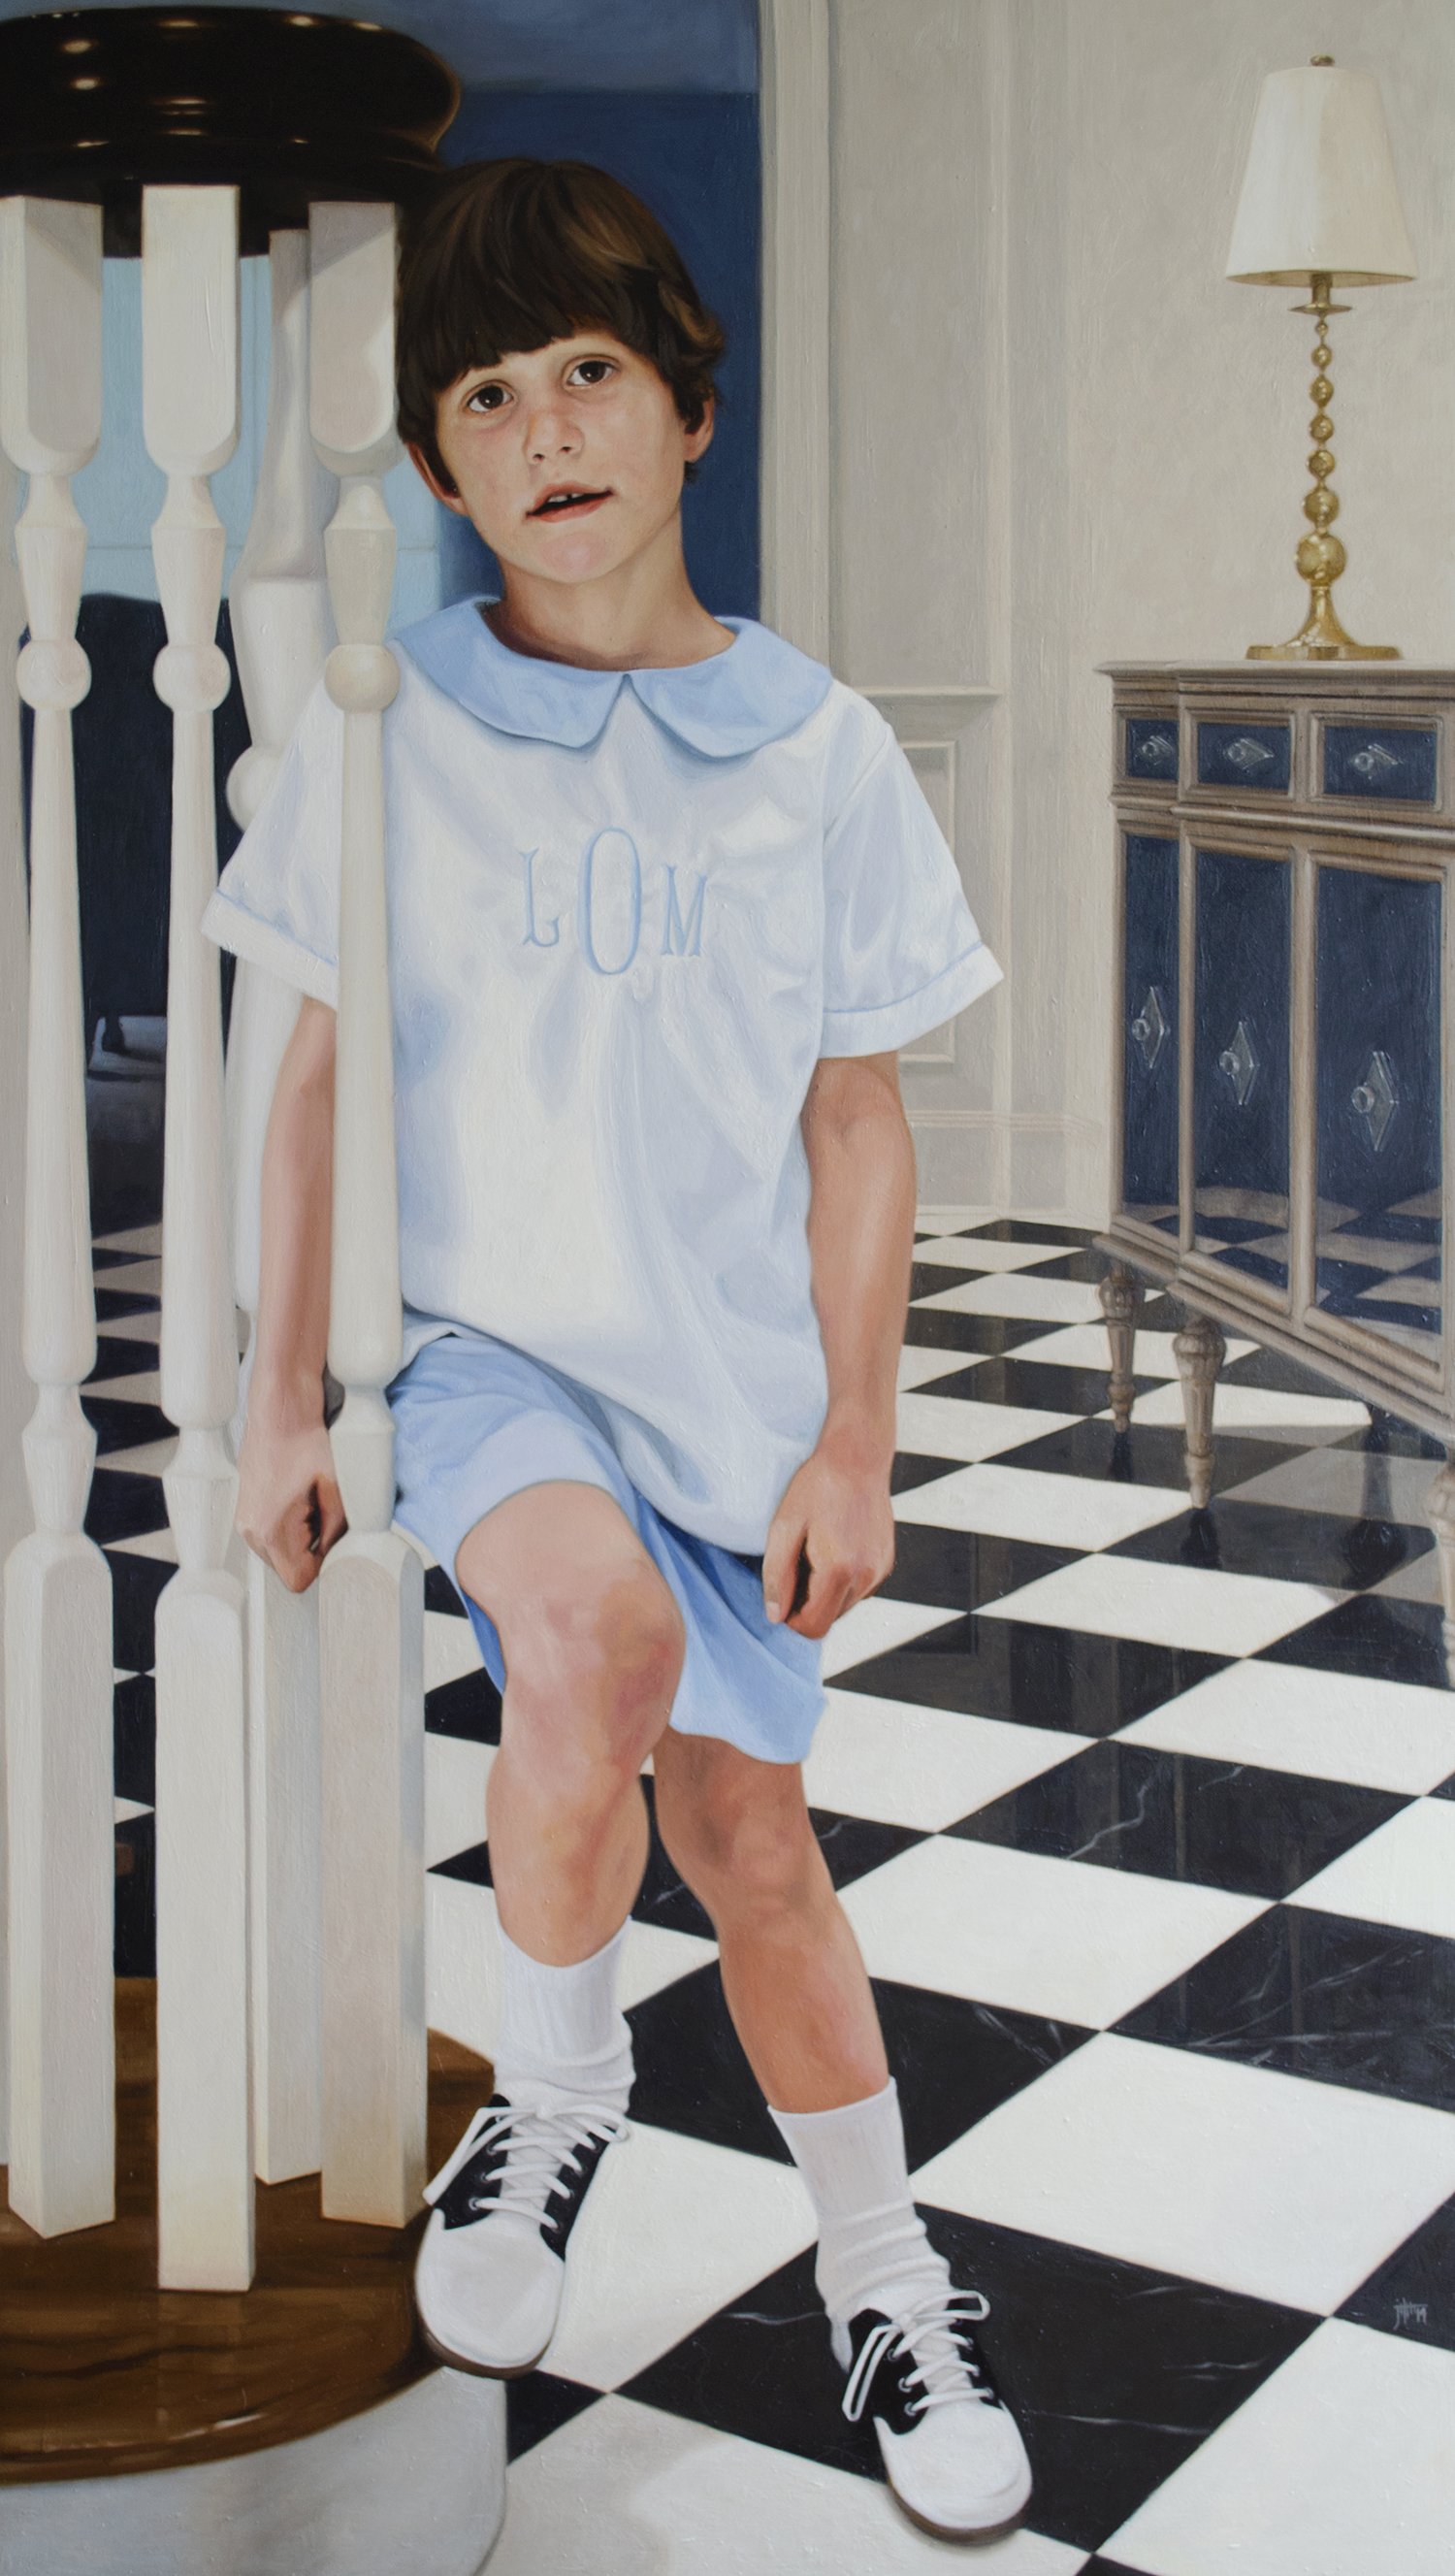
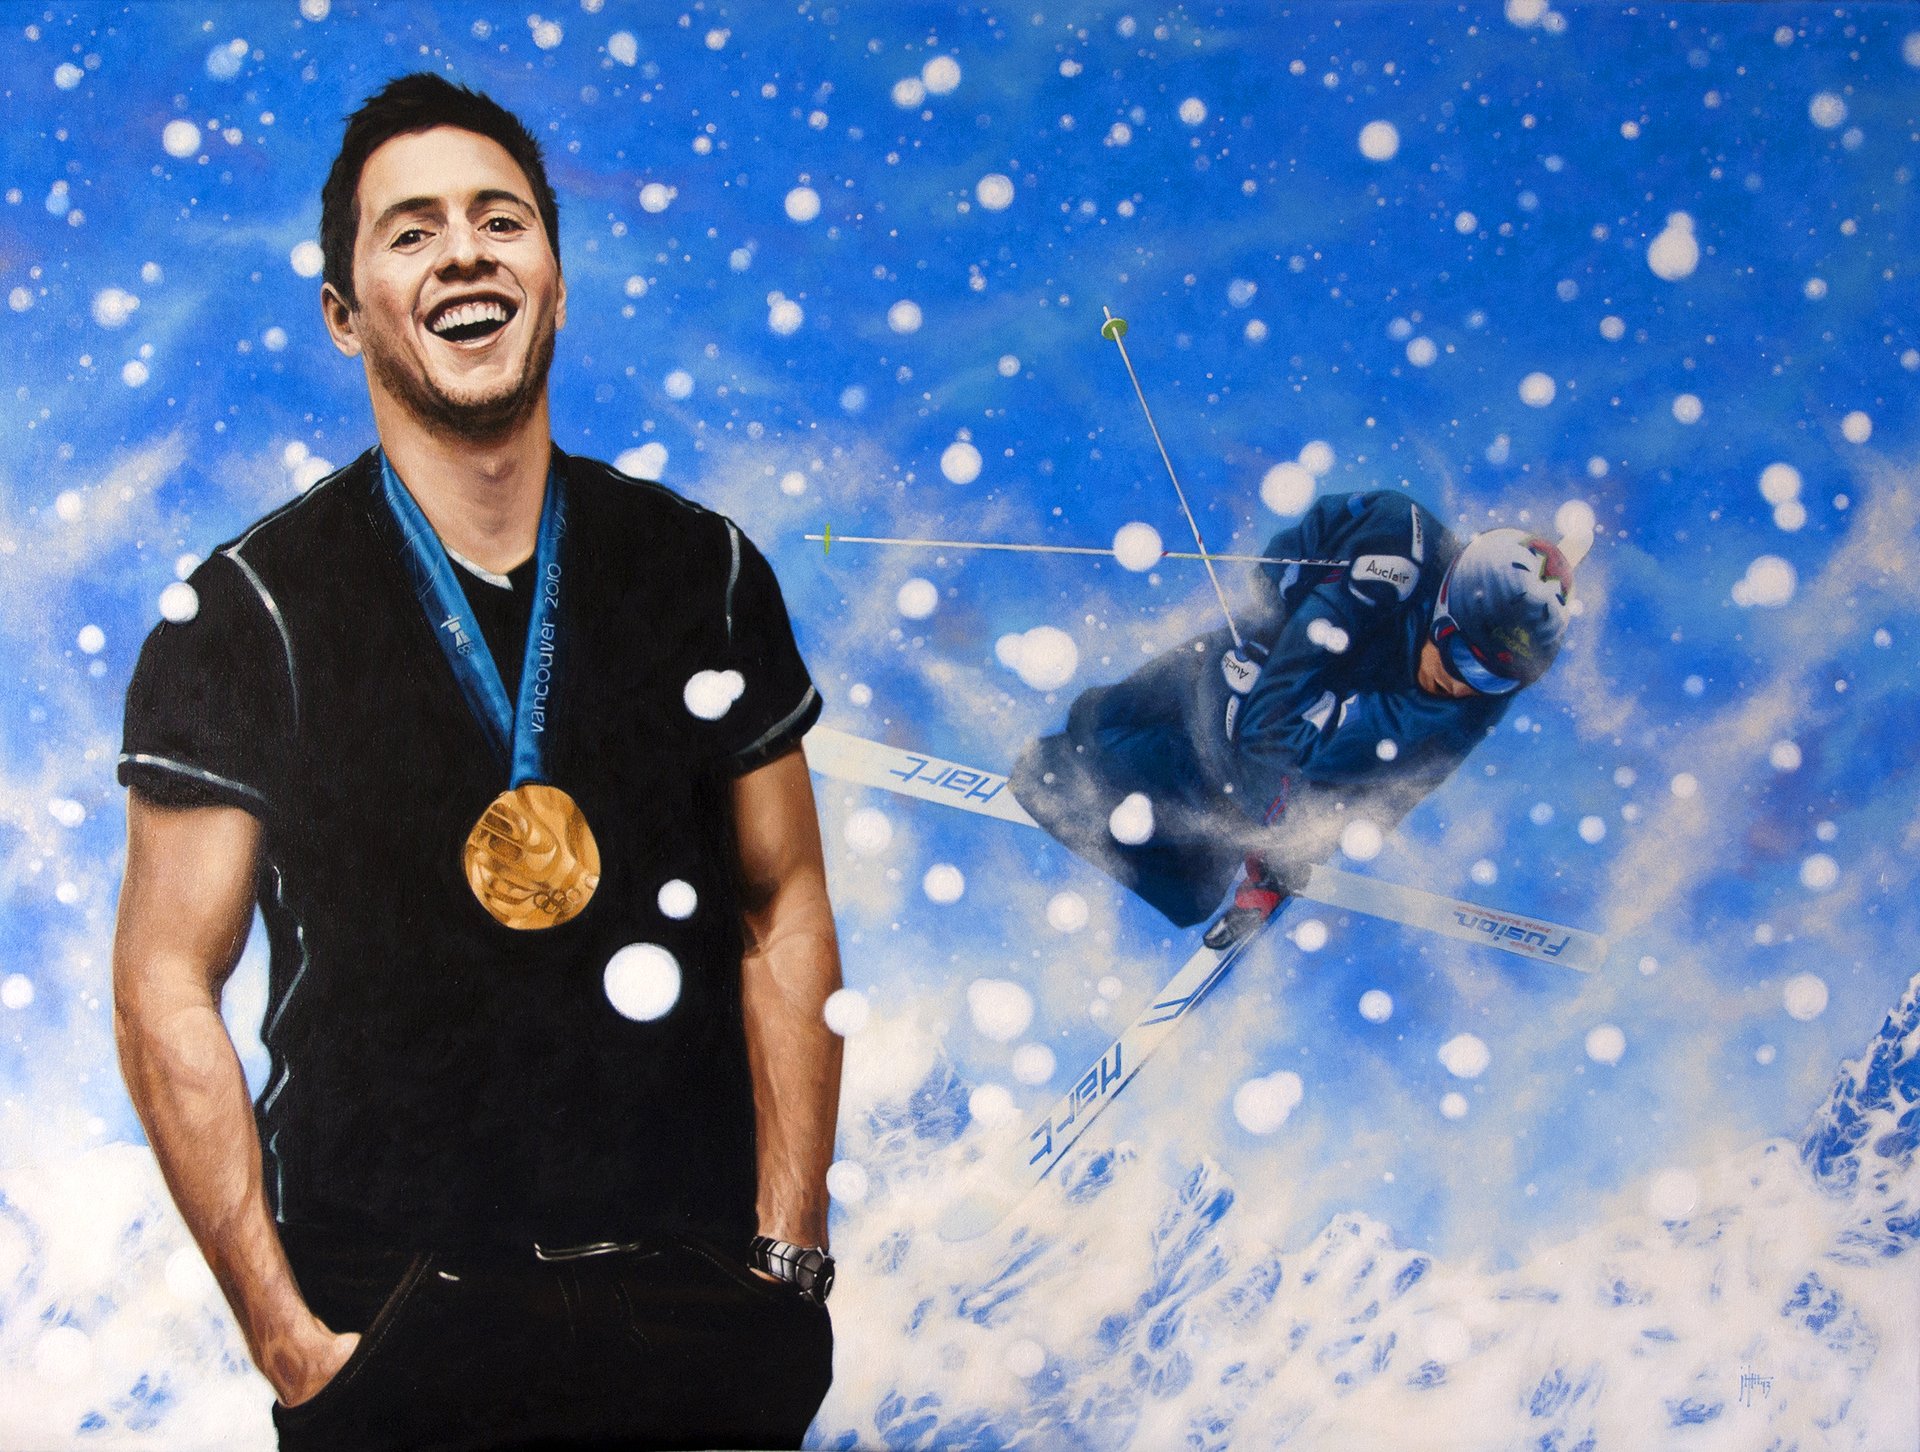
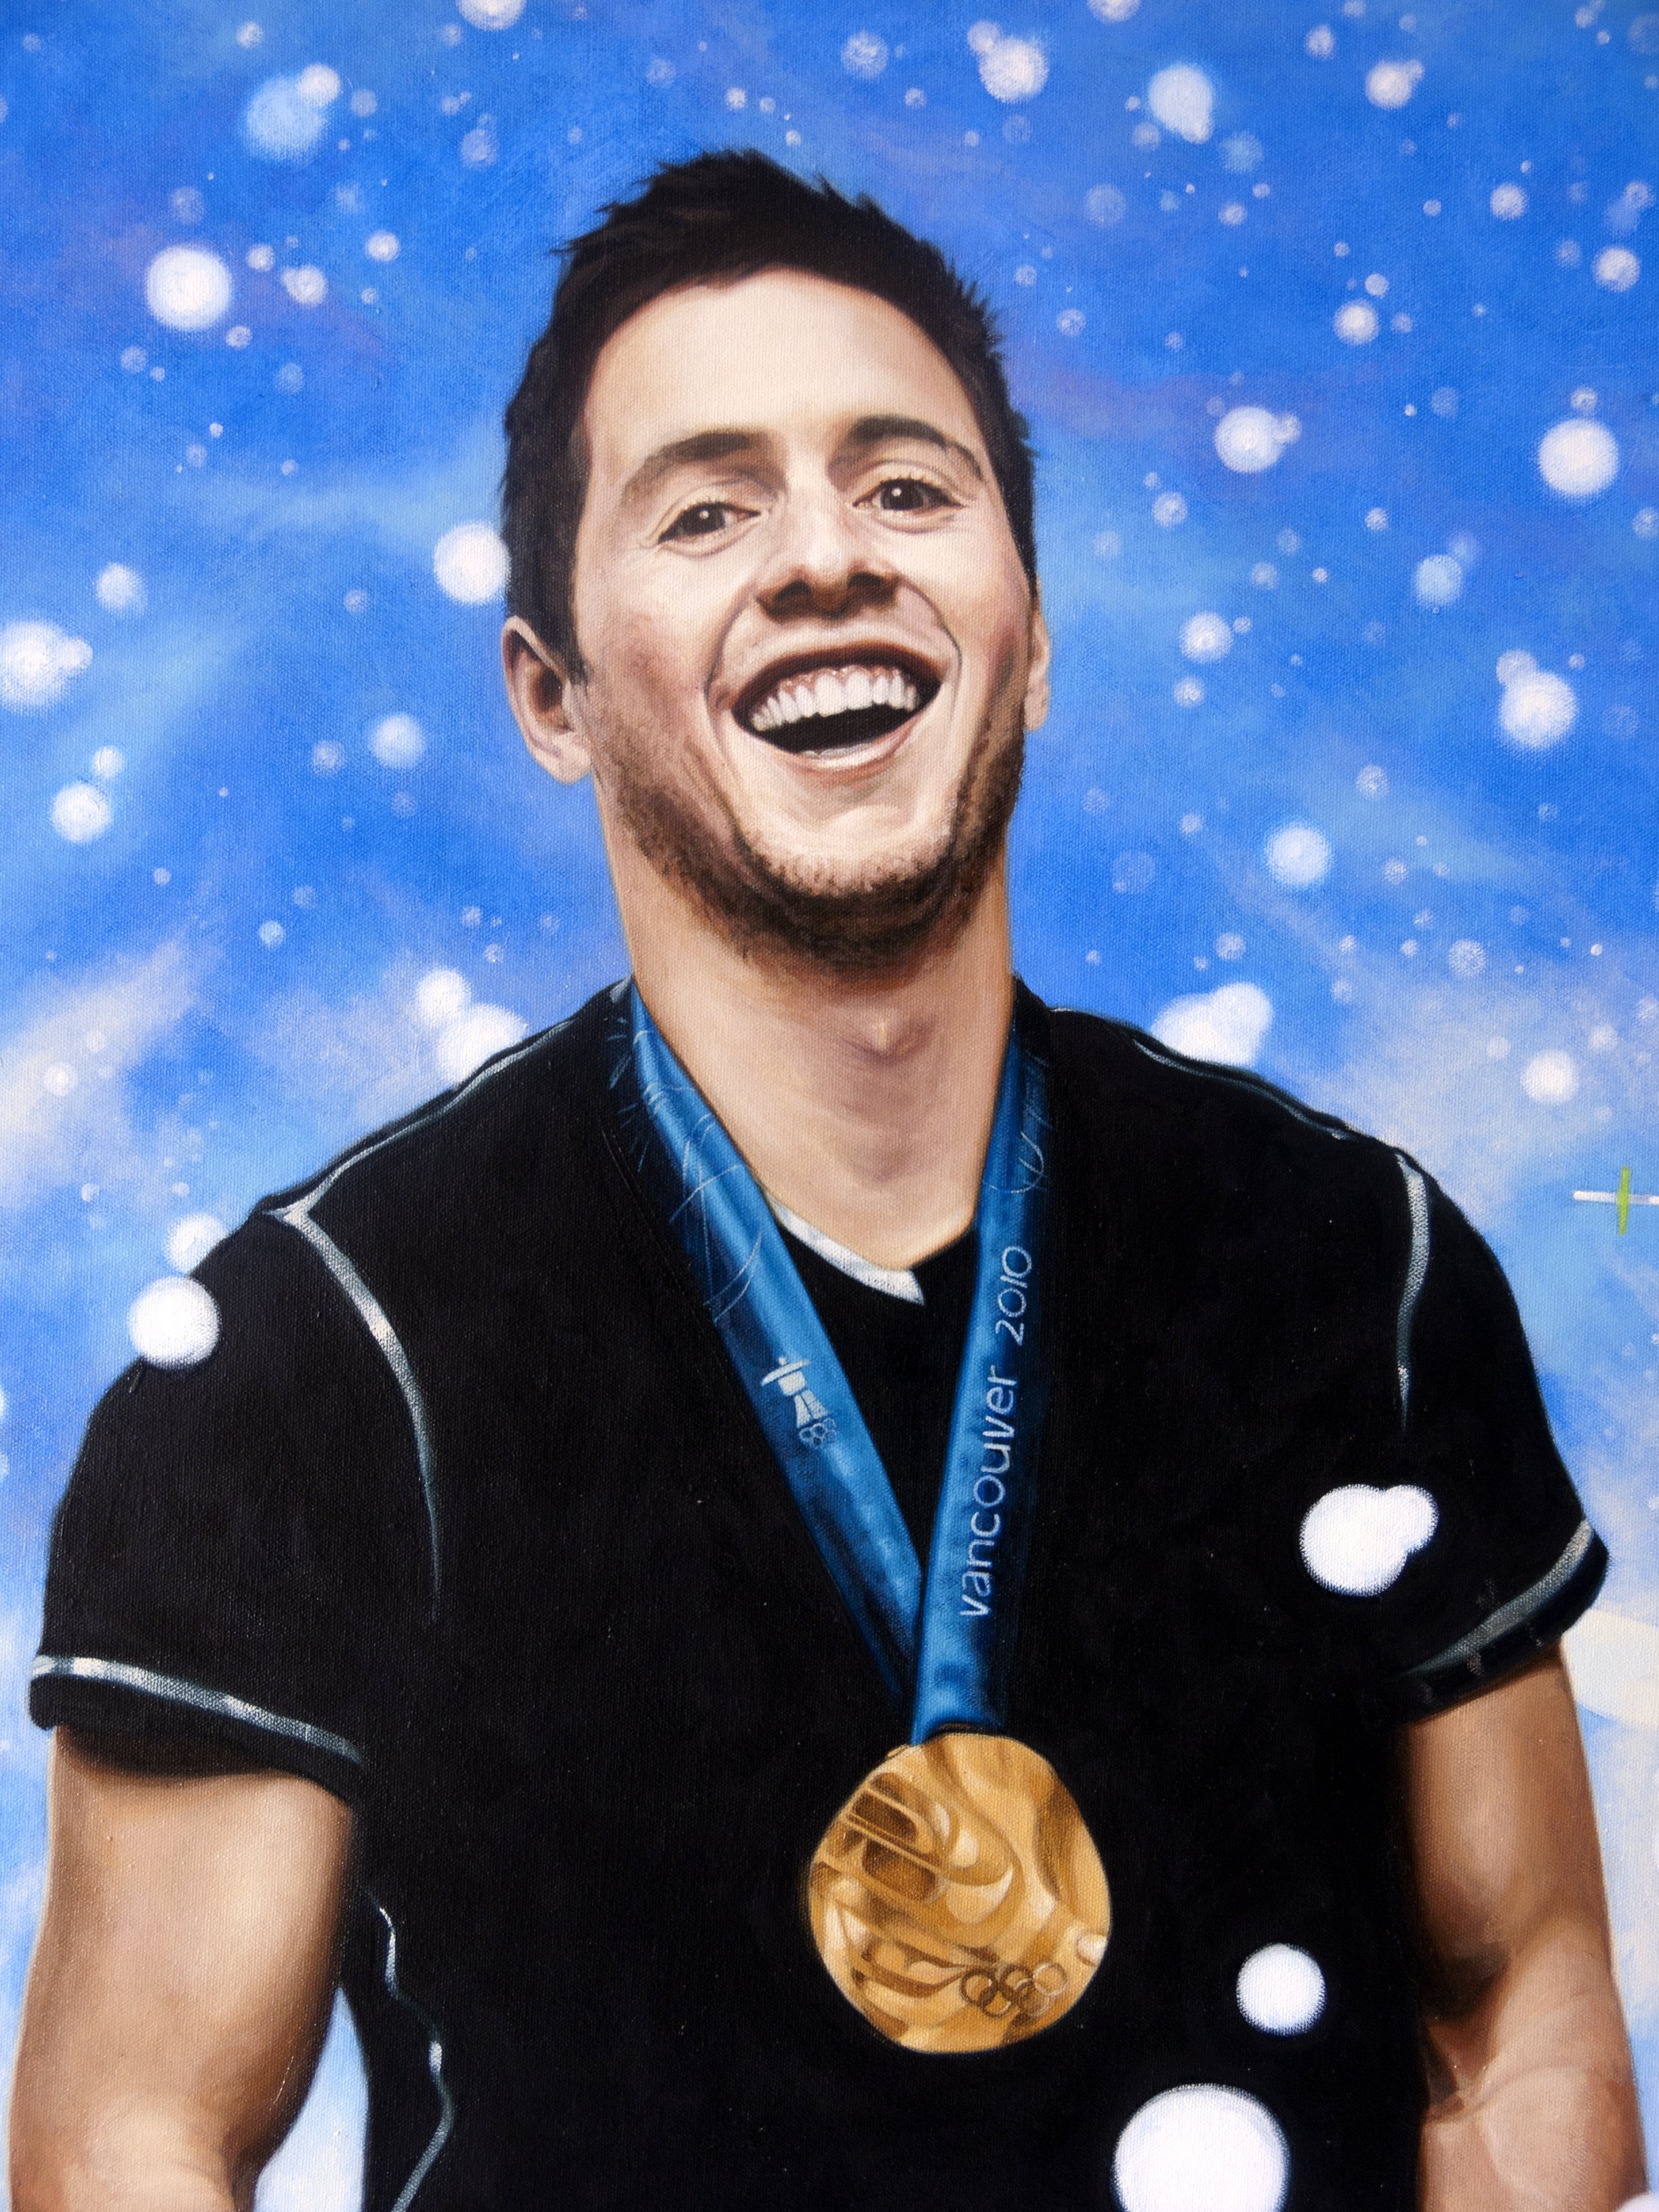
 Eventually over many weeks of work the image arrives at a point where everything is finished. As any painter knows there are hundreds of details to refine and the last stages can go on for some time. I know a piece is finished when not another mark I could do will truly make a difference, the likeness is perfect, the surface is rich and satisfying with colour and texture and when, finally, when there is a breath of life enters and inhabits the work.I did go to art school but was not trained to paint portraits or to paint realistically and have learned by looking at other painters, reading books, by trial and error and instinct so there may be faster ways of getting to this end but I haven't found them.And now the finished work...


 Thank you so much for taking the time to read and I will be back next moth with the next one.


